
Shabby Chic picture with Doobadoo and pan pastels
We're going all "Shabby Chic" over at We Do Doobadoo this fortnight and I lurve this theme as it allows me to distress loads of different things and literally throw embellishments, ribbons etc etc at my projects .... lol.
I have wanted to do a project with the laser art feathers from Doobadoo for a long while but couldn't settle on an idea. However whilst at a wedding recently, a lady eas wearing a dress which was very 1920's flapper style and that sparked the little light bulb in my head. At this point, I better advise you, that this is a photo heavy post, so you might want to grab a bring, a cushion for your back (or bottom) and sit back ......

This is PART ONE and I will do the completed picture in another blog post (phew I hear you cry)
I found this card dress form in a drawer of items that I keep because I know I will use them one day (and for once, I have proved myself correct .. lol). I used my pan pastels to add light and dark shading to the dress form.

I adore using "Wonder Web" on my projects as it both molds and sticks itself to an item by using heat (my heat gun). "Wonder Web" for those who do no know is an ingenious product to help you hem a garment really quickly but you would use your iron to secure it not a heat gun (lol). I began by wrapping the web around the top of the dress form, heat setting it in place.

I did this several times to create the bodice but let a slight over hang on each piece. This was so I could add my layers of laser art feathers.

I then secured them in place by heat setting the over hangs with my heat gun. This was the starting point for my bodice.

Next I took strips of wonder web and heat set them to the waist part of the dress form (again with my heat gun).
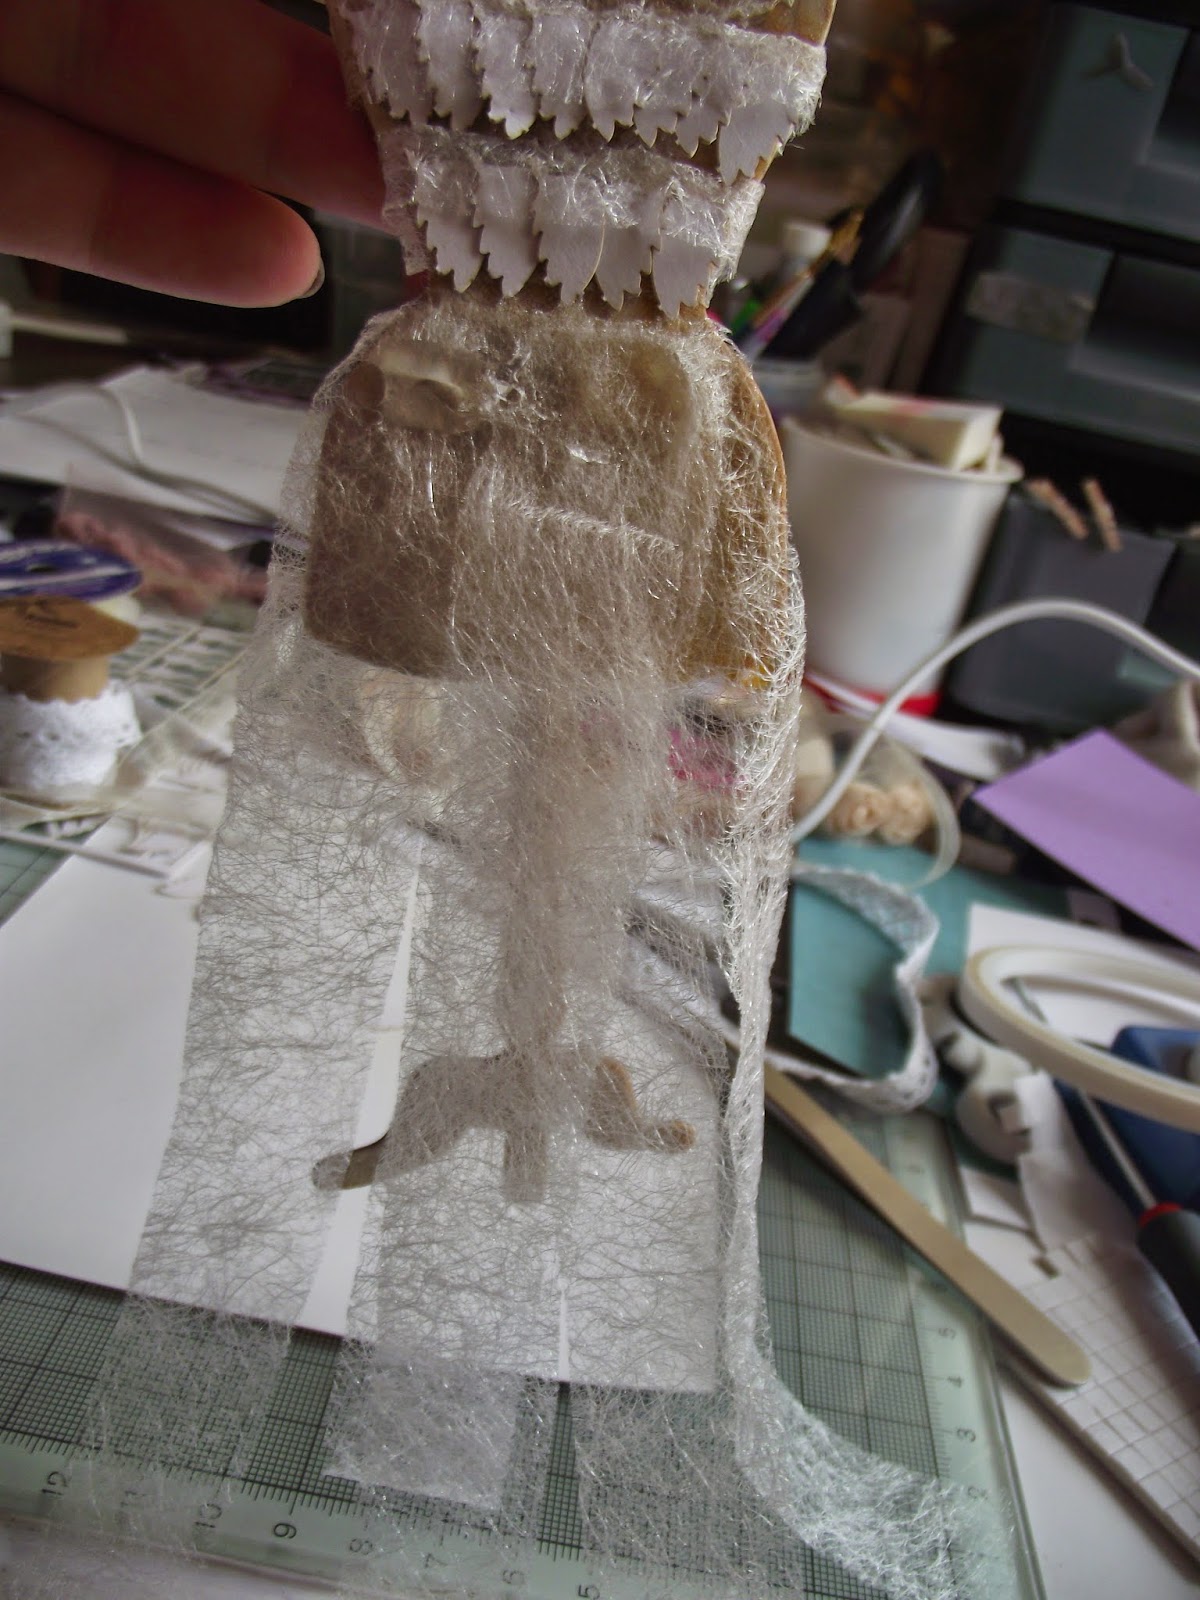
I then added a further layer of "Wonder Web" strips to build volum in the skirt .

To define the bodice, I added a piece of embellished ribbon and then gradually stuck down (with my glue gun) 3 rows of laser art feathers.
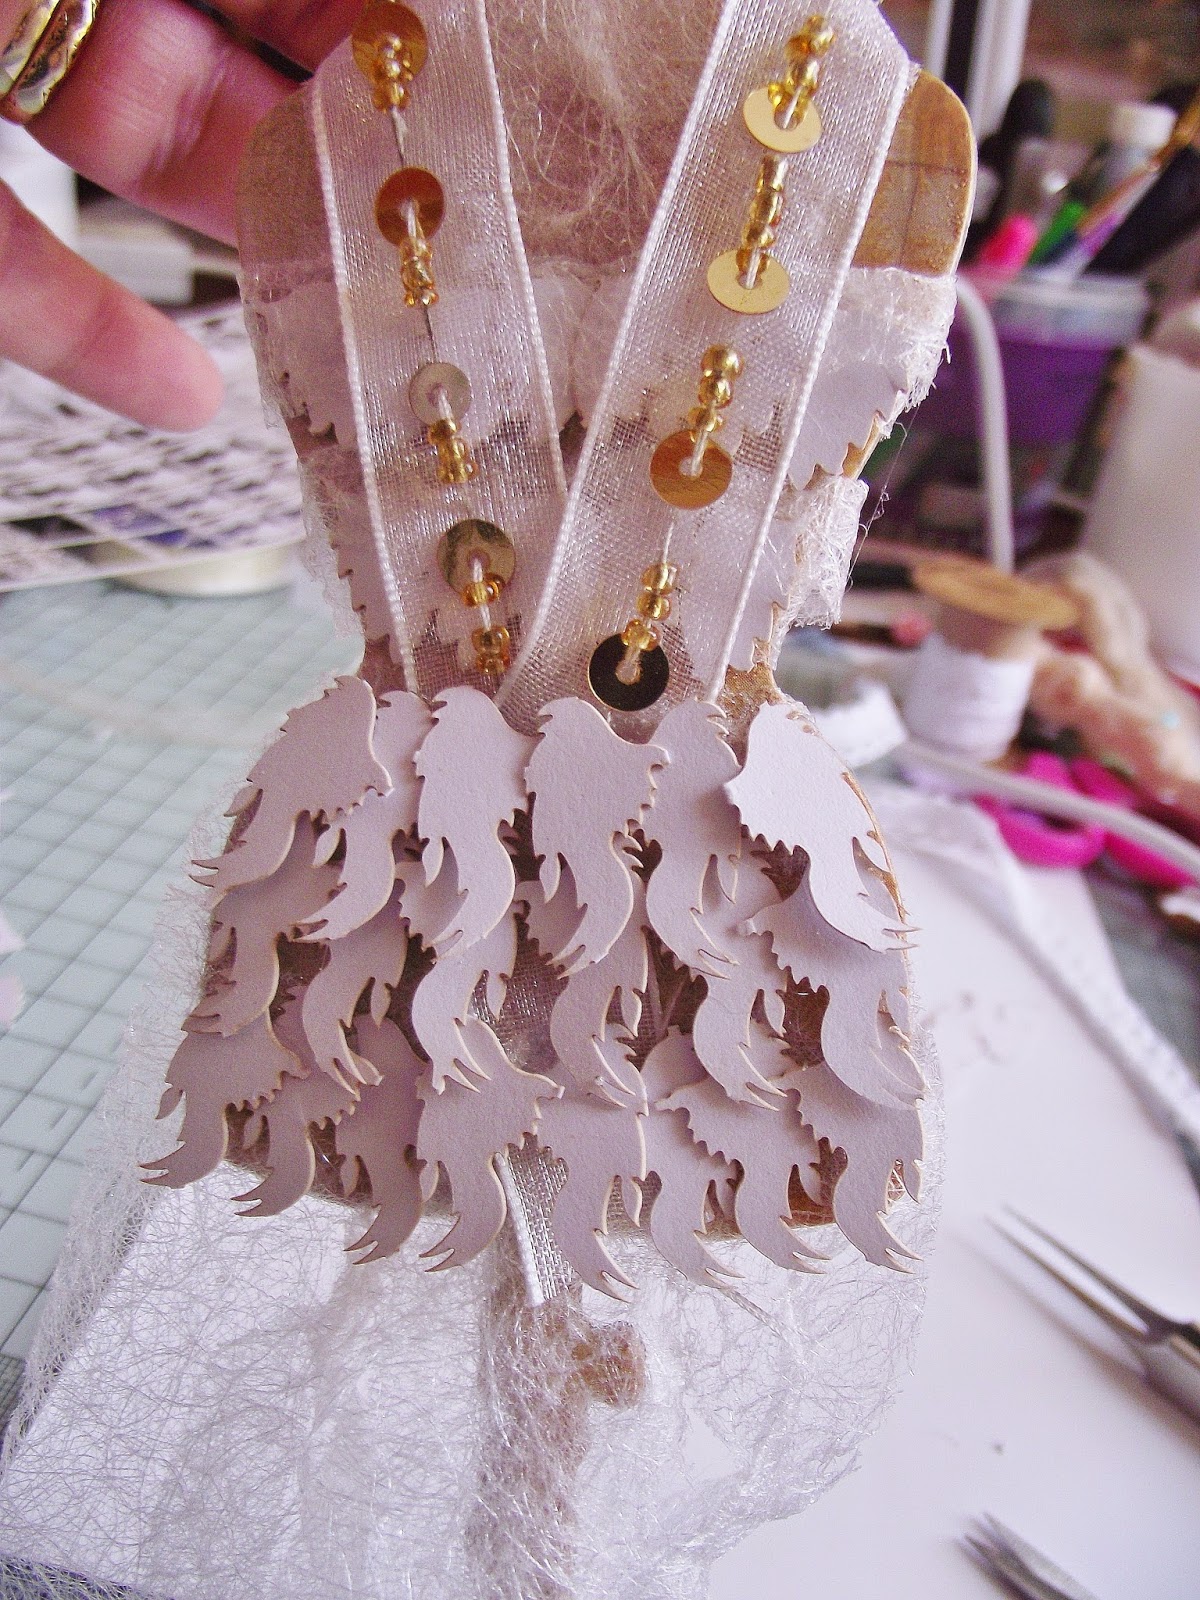
To define the waist on my dress, I added a length of the same sequin and bead ribbon, finished with a ribbon rose.

Gradually I added layers of sheer organza ribbon which was placed amongst the "Wonder Web" to increase the volume in the skirt. I trimmed the ends of the ribbon.

I then used my heat gun on a low setting to fuse parts of the "Wonder Web" in order that the ribbon layers stuck to which gradually makes it one piece.

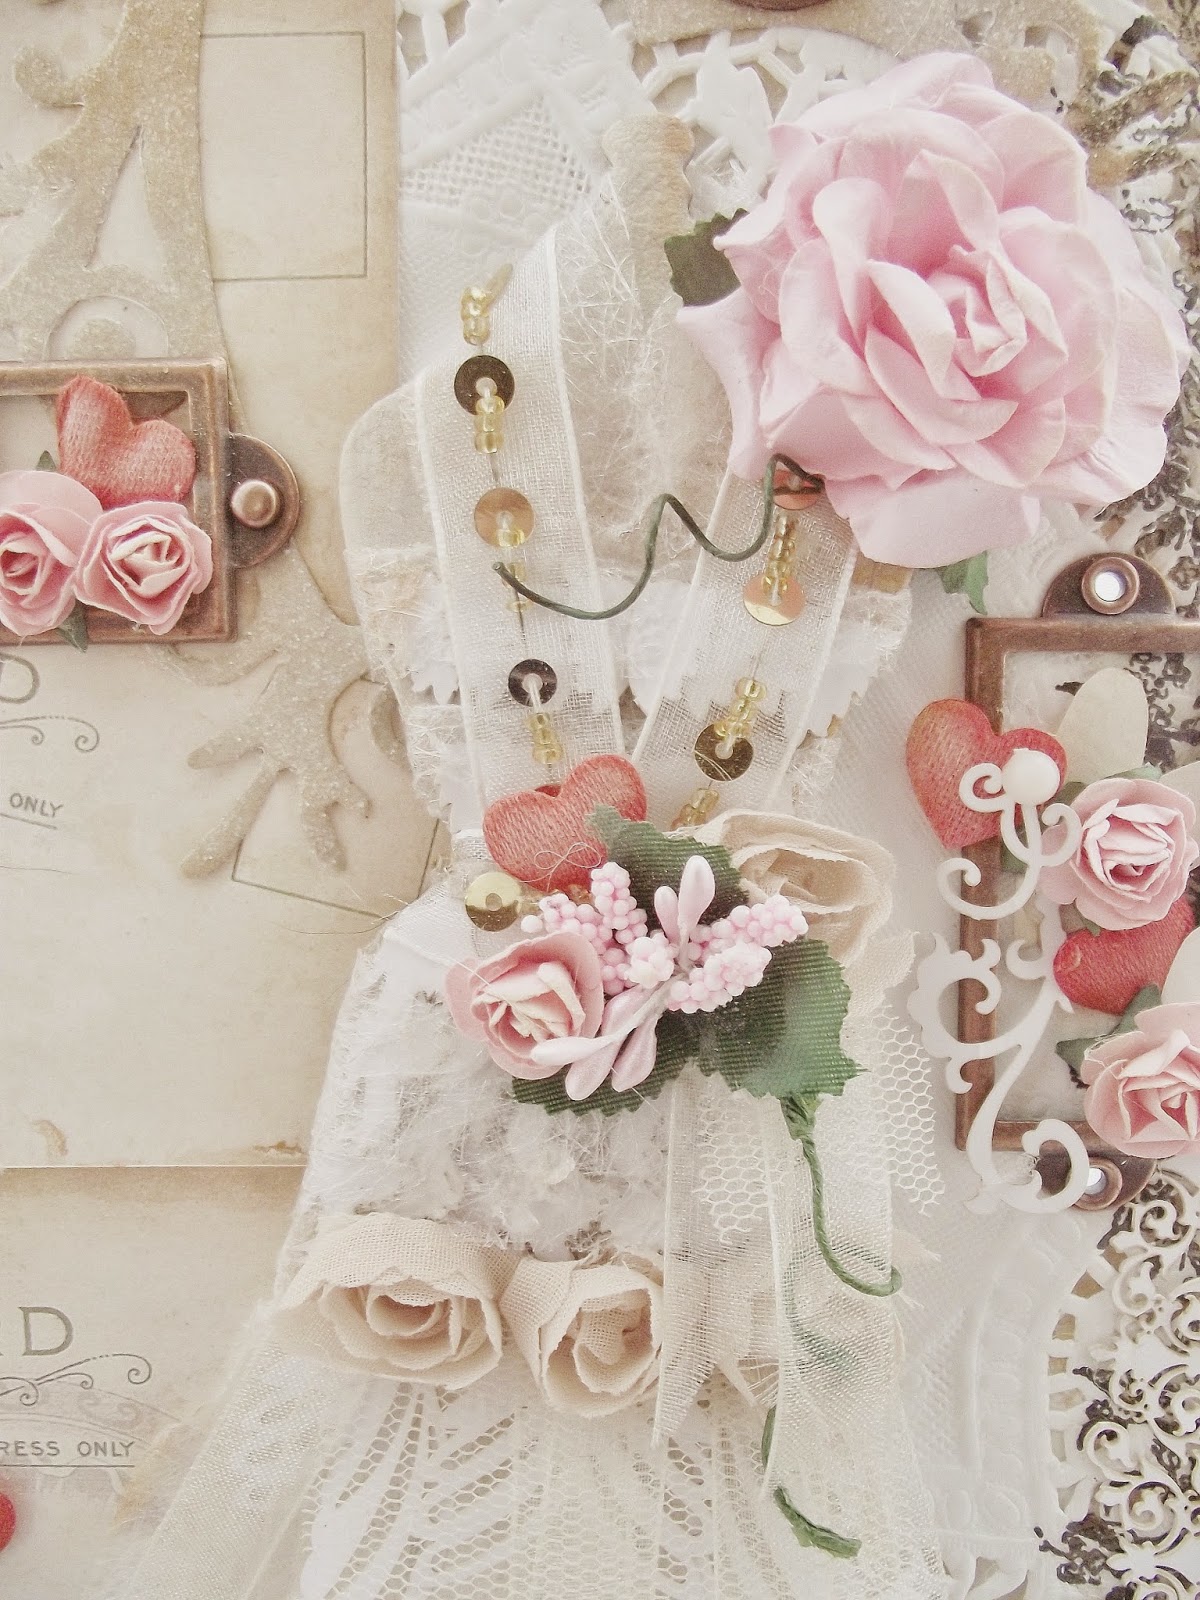
At the hip part of the dress form, I put a row of three ribbon roses and carefully stuck larger laser art feather under the netting from the ribbon roses.

I also added a layer of Twill ribbon tape to the back of the dress form, sticking extra laser art feathers and sequins to it.


I am entering my "Shabby Chic" dress in to the following challenges:
Speedy Fox and friends - feathers
A girl who crafts - anything goes
Altered Eclectics - anything goes
Creatalicious - monochrome
Rhedd's Creative Spirit - anything goes
Simply Create Too - old/vintage
Crafting by Designs - vintage/shabby chic
Moo-mania - texture
I have wanted to do a project with the laser art feathers from Doobadoo for a long while but couldn't settle on an idea. However whilst at a wedding recently, a lady eas wearing a dress which was very 1920's flapper style and that sparked the little light bulb in my head. At this point, I better advise you, that this is a photo heavy post, so you might want to grab a bring, a cushion for your back (or bottom) and sit back ......
This is PART ONE and I will do the completed picture in another blog post (phew I hear you cry)
I found this card dress form in a drawer of items that I keep because I know I will use them one day (and for once, I have proved myself correct .. lol). I used my pan pastels to add light and dark shading to the dress form.
I adore using "Wonder Web" on my projects as it both molds and sticks itself to an item by using heat (my heat gun). "Wonder Web" for those who do no know is an ingenious product to help you hem a garment really quickly but you would use your iron to secure it not a heat gun (lol). I began by wrapping the web around the top of the dress form, heat setting it in place.
I did this several times to create the bodice but let a slight over hang on each piece. This was so I could add my layers of laser art feathers.
I then secured them in place by heat setting the over hangs with my heat gun. This was the starting point for my bodice.
Next I took strips of wonder web and heat set them to the waist part of the dress form (again with my heat gun).
I then added a further layer of "Wonder Web" strips to build volum in the skirt .
To define the bodice, I added a piece of embellished ribbon and then gradually stuck down (with my glue gun) 3 rows of laser art feathers.
To define the waist on my dress, I added a length of the same sequin and bead ribbon, finished with a ribbon rose.
Gradually I added layers of sheer organza ribbon which was placed amongst the "Wonder Web" to increase the volume in the skirt. I trimmed the ends of the ribbon.
I then used my heat gun on a low setting to fuse parts of the "Wonder Web" in order that the ribbon layers stuck to which gradually makes it one piece.
At the hip part of the dress form, I put a row of three ribbon roses and carefully stuck larger laser art feather under the netting from the ribbon roses.
I also added a layer of Twill ribbon tape to the back of the dress form, sticking extra laser art feathers and sequins to it.
Here is my dress "semi" completed as I simply couldn't resist adding even more to it .....
FINAL .... finished dress .....
So that's part one completed and I will blog how I used the dress to create a picture next Saturday (16th August), so please do pop back and see how it all came together.
Lou
x x x
Products I have used:
I am entering my "Shabby Chic" dress in to the following challenges:
Speedy Fox and friends - feathers
A girl who crafts - anything goes
Altered Eclectics - anything goes
Creatalicious - monochrome
Rhedd's Creative Spirit - anything goes
Simply Create Too - old/vintage
Crafting by Designs - vintage/shabby chic
Moo-mania - texture
Comments
Kevin xx
Hugs
Linda xxx
Alison x
Thank you so much for sharing with
MOO-MANIA & MORE CHALLENGE
xxx
Susi
xoxoxoxox
Thanks for playing along with the Simply Create Design Team challenge no. 67 Old/Vintage. Please join us again soon.
Erica (Simply Create Too DT Member)