Skip to main content
Search
Search This Blog
Louise Sims Papercrafter
Lou Sims: Papercraft Artist, Designer, and Blogger!
WORKSHOPS
Affiliate Disclosure
More…
Posts
Showing posts from October, 2016
Show All
October 14, 2016
Autumn Colours for Christmas
October 08, 2016
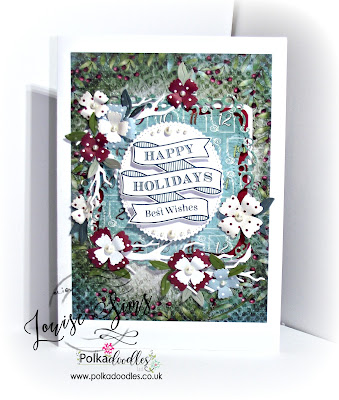
Happy Holidays ...
October 08, 2016
Skating on by ...
October 08, 2016
Yep, still wishing you a Merry Christmas ... in October
October 05, 2016
Winter scene with die cuts
October 04, 2016
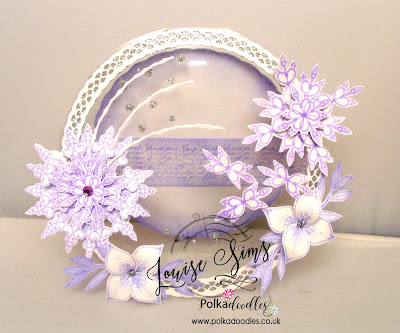
Purple is the new blue christmas
Newer Posts
Older Posts
Home