
'Believe in Angels' stampbord picture frame - Love 2 Create with Polkadoodles
Oh wowsers, it's been a wee while since I last posted and no fancy excuses other than I've been busy, busy, busy. For me personally, I love writing up blog posts and struggle to write a short post, and with that in mind, when time is at a premium, I would prefer not to write anything at all but find the time to write a detailed post. Maybe that needs to be one of my New Year's resolutions for the impending arrival of 2019 ...?!?!?
Also talking about being away for a while, it has been eons since I played along with the Love 2 Create challenge blog and I have missed creating along with the other other DT members. Excited dot com here to share a project I made for the Polkadoodles launch of the 'Believe in Angels' stamp sets on Hochanda on 31st October ...
A photo frame using stampbord ...


I adore using stampbord in my projects as its sturdy nature makes it an ideal substrate to use when making photo frames (for example) and it really does allow you to keep adding mediums without distortion - just brilliant as you can get everything out and play, play and yep, play 😇😏😍
I began by roughly laying out all my pieces and then colouring with either Nuvo embellishment mousse or Nuvo expanding mousse. TOP TIP - and learnt by forgetting myself - remember to colour the sides that will be on show too ...


Next, join all your pieces together with a strong wet glue - my preferences are either Mod Podge or Book Binding glue - to create the frame shape you want. I've gone for a simple(ish) square design ...

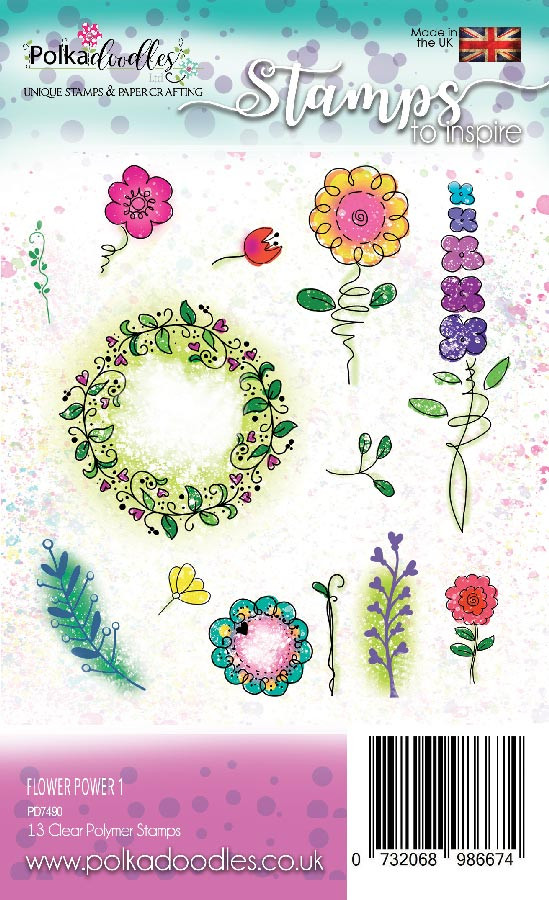
Now the first layer of stamping using the 'Flower Power 1' stamp set for the 'Believe in Angels' collection ... all coloured with Nuvo mousse ...


To add a little bit more of a contrast colour, I have used Citrus Lime Nuvo embellishment mouse, painted this directly on to the stamp, and added different images around the outside of the frame ...

To 'knock back' the colour, I have dried brushed a layer of white gesso which also has the advantage of highlighting the bumpy, raised areas creating by the Nuvo expanding mousse. I did this additional 'move' because .... now it's stencil time ...!

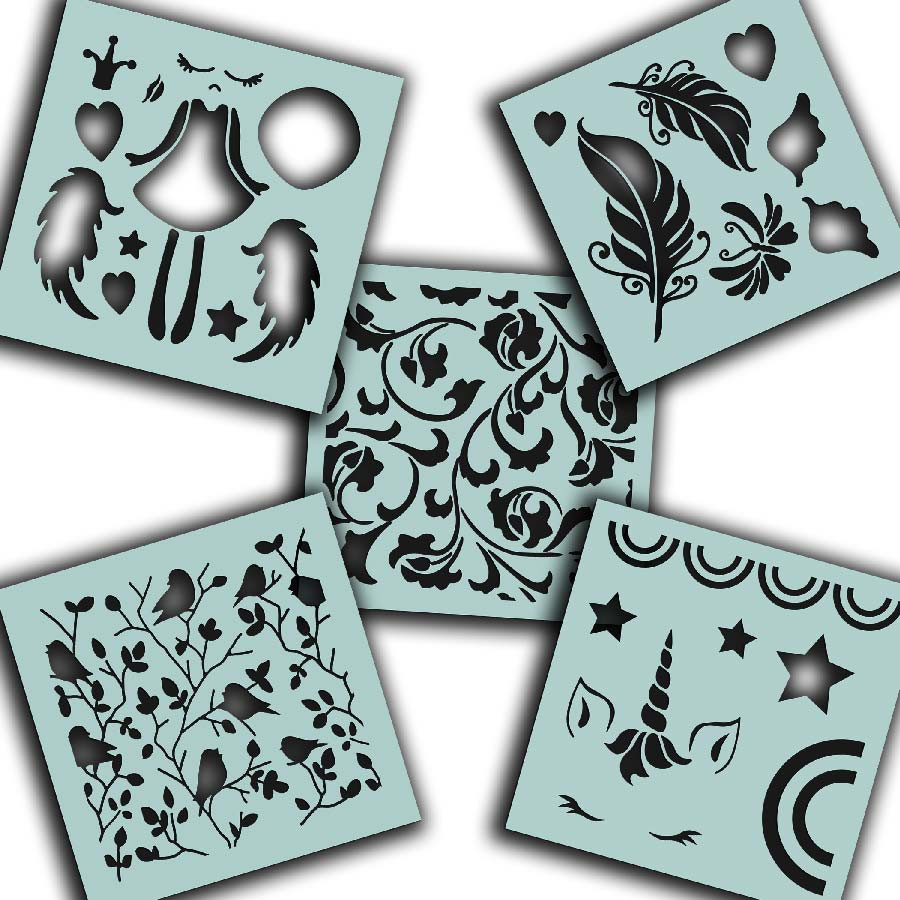
I have used the 'Unicorns & Rainbows' stencil from the 'Believe in Angels stencil collection' , with Nuvo expanding mousse. to create a border around the outside of my frame. Once heated, I have 'knocked back' the design again with white gesso ...

Now at this point, I was happy with my frame and went about adding the backing which would secure my photo in place but ... felt something was missing ...! Sudden flash of inspiration and I realised what it was, there were no words/sentiments etc. Grabbing the 'Forever Special Angel' stamp set, I began adding different words/sentiments on to my frame ...

Happy bunny now as the contrasting black sentiments I think makes all the elements stand out rather than merge into one. What do you think?
Below are a few more close up photos of the frame, (just in case you hadn't seen enough photos already 😂😏😇) to help show all the different layers & textures etc.


Phew, think that's all and many thanks for bearing with me as I shared all the different steps to create the 'Believe in Angels' stampbord photo frame and do pop over to the 'Love 2 Create' challenge blog, to see lots more inspiration from the team.
Sunday is domestic goddess day in my house - whole body crumples at the thought - so better get the pain over with.
Thanks for popping over,
Lou
x x x


Also talking about being away for a while, it has been eons since I played along with the Love 2 Create challenge blog and I have missed creating along with the other other DT members. Excited dot com here to share a project I made for the Polkadoodles launch of the 'Believe in Angels' stamp sets on Hochanda on 31st October ...
A photo frame using stampbord ...


I adore using stampbord in my projects as its sturdy nature makes it an ideal substrate to use when making photo frames (for example) and it really does allow you to keep adding mediums without distortion - just brilliant as you can get everything out and play, play and yep, play 😇😏😍
I began by roughly laying out all my pieces and then colouring with either Nuvo embellishment mousse or Nuvo expanding mousse. TOP TIP - and learnt by forgetting myself - remember to colour the sides that will be on show too ...


Next, join all your pieces together with a strong wet glue - my preferences are either Mod Podge or Book Binding glue - to create the frame shape you want. I've gone for a simple(ish) square design ...

Now the first layer of stamping using the 'Flower Power 1' stamp set for the 'Believe in Angels' collection ... all coloured with Nuvo mousse ...


To add a little bit more of a contrast colour, I have used Citrus Lime Nuvo embellishment mouse, painted this directly on to the stamp, and added different images around the outside of the frame ...

To 'knock back' the colour, I have dried brushed a layer of white gesso which also has the advantage of highlighting the bumpy, raised areas creating by the Nuvo expanding mousse. I did this additional 'move' because .... now it's stencil time ...!

I have used the 'Unicorns & Rainbows' stencil from the 'Believe in Angels stencil collection' , with Nuvo expanding mousse. to create a border around the outside of my frame. Once heated, I have 'knocked back' the design again with white gesso ...

Now at this point, I was happy with my frame and went about adding the backing which would secure my photo in place but ... felt something was missing ...! Sudden flash of inspiration and I realised what it was, there were no words/sentiments etc. Grabbing the 'Forever Special Angel' stamp set, I began adding different words/sentiments on to my frame ...

Happy bunny now as the contrasting black sentiments I think makes all the elements stand out rather than merge into one. What do you think?
Below are a few more close up photos of the frame, (just in case you hadn't seen enough photos already 😂😏😇) to help show all the different layers & textures etc.


Phew, think that's all and many thanks for bearing with me as I shared all the different steps to create the 'Believe in Angels' stampbord photo frame and do pop over to the 'Love 2 Create' challenge blog, to see lots more inspiration from the team.
Sunday is domestic goddess day in my house - whole body crumples at the thought - so better get the pain over with.
Thanks for popping over,
Lou
x x x
Polkadoodles products used and links by clicking on each photo:
I'd like to enter my photo frame in to the following challenges:
Creative Artiste - anything mixed media goes
Creative Fingers - anything goes
Polkadoodles - anything goes
Crafty Creations - anything goes
Simon Says Stamp - anything goes
Mix It Up challenge - anything goes
More Mixed Media - anything goes
WWODT - anything goes
CDTOC - anything goes
Comments
Gr Karin
Thank you for sharing with us here today at World Wide Open Design Team Challenge and best of luck with your entry.
Annette DT Registered Owners/Admin for World Wide Open Design Team Challenge
Michelle DT
Gale DT for http://worldwideopendesignteamchallenge.blogspot.com.au/