
Creating a mini album using Memorable Moments Keepsake Creator Insert dies from Tonic Studios
A wee while ago, (March 2019), the Keepsake Creator Insert dies from Tonic Studios were released and there were 3 to choose from, each having a different shape and insert panels etc. Today I'm sharing one of the albums I made for the launch using Memorable Moments Keepsake Creator Insert dies ...

All the decoration that appears in the album has been created with dies from all the Keepsake Creator Insert dies and enhanced with lots of die cuts from the Mermaid in Love collection.

I have coloured the die cuts with lots of different Nuvo Hybrid Diamond inks and my trusty Nuvo daubers.

All the decorative papers/card are from the Craft Perfect range and I will list them at the very bottom of this post.

In the centre of my book, I created a notebook - because I adore note books 😁💖 - using the dies to create the pages. I have secured them in place with elastic, in order that more pages can be added or pages removed, all easily achieved as they slip away from the elastic.

These are just a few of the photographs I have taken but rather than spam you all with oodles & oodles, please find below a video explaining about the die set and the album I created, in much greater detail.

I have also produced a further video explaining two quick but different ways you can use the dies to create your albums WITHOUT making a spine. In addition also using the pages from the Memorable Moments dies collection to create an interactive page for a larger album ... and ... there's no glue involved! Yep, no glue ... Will share the video tomorrow as need to make some adjustments on YouTube so it goes live ...
See you tomorrow and thanks for popping over,
Lou
x x x

All the decoration that appears in the album has been created with dies from all the Keepsake Creator Insert dies and enhanced with lots of die cuts from the Mermaid in Love collection.


All the decorative papers/card are from the Craft Perfect range and I will list them at the very bottom of this post.

In the centre of my book, I created a notebook - because I adore note books 😁💖 - using the dies to create the pages. I have secured them in place with elastic, in order that more pages can be added or pages removed, all easily achieved as they slip away from the elastic.

These are just a few of the photographs I have taken but rather than spam you all with oodles & oodles, please find below a video explaining about the die set and the album I created, in much greater detail.
I have also produced a further video explaining two quick but different ways you can use the dies to create your albums WITHOUT making a spine. In addition also using the pages from the Memorable Moments dies collection to create an interactive page for a larger album ... and ... there's no glue involved! Yep, no glue ... Will share the video tomorrow as need to make some adjustments on YouTube so it goes live ...
See you tomorrow and thanks for popping over,
Lou
x x x
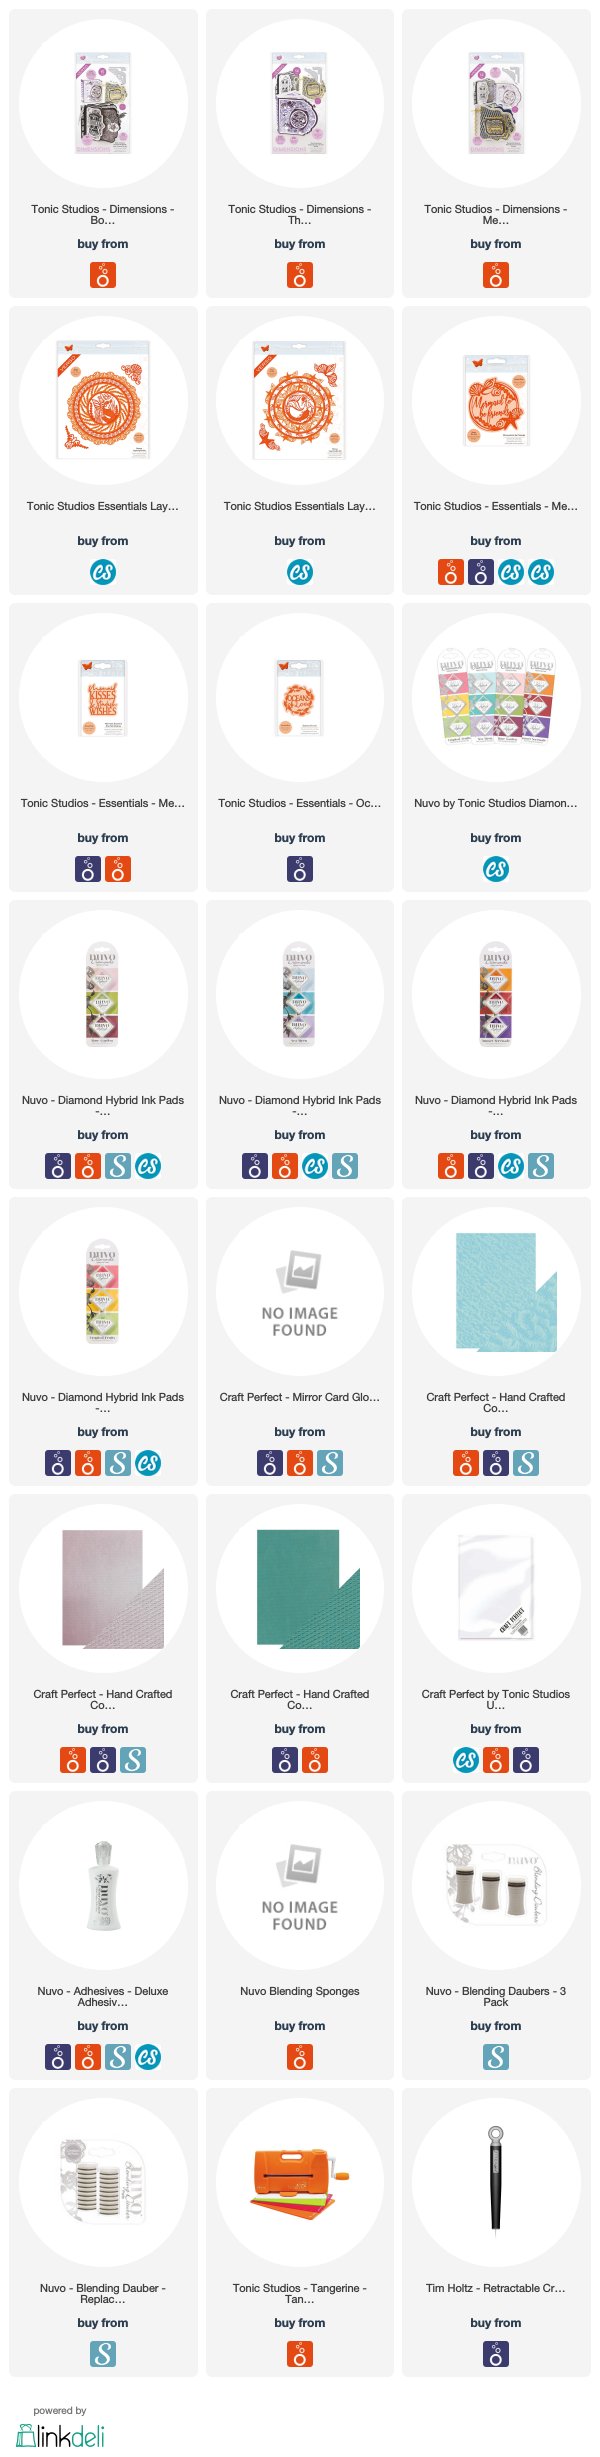
SUPPLIES
I’m listing the products I used below to create my project. Click on the shop icon or photo to go directly to the product. Where available I use compensated affiliate links which means if you make a purchase I receive a small commission at no extra cost to you. Thank you so much for your support!
Comments