Water colouring a stamped image using the packing graphics for inspiration
Hi everyone last week I was very lucky to launch a 3 new sets of collage stamps for Nikky Hall of Polkadoodles on Hochanda - 3 different designs: Wings & Things, Queen of Hearts plus Flower Collage - with smaller add on stamp sets. The designs are incredibly versatile and can used to be the focal point of your project, create impressive backgrounds or alternatively, just use a portion of the design. Each stamp set easily crosses over from journaling to card making, from mixed media to scrap booking or just being a piece of art in their own right.
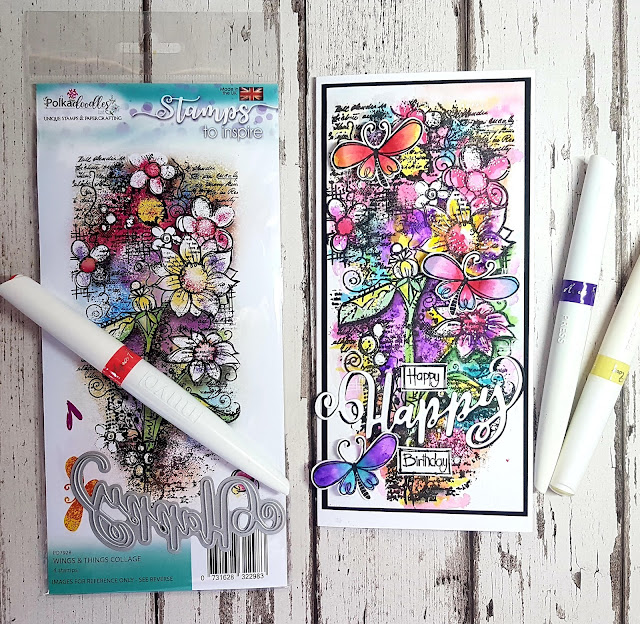
Recently I was asked after the show how I chose the colours I wanted to use in my projects. Now there are a lot of answers I could give but the main thing I always say is look to the packaging. The coloured graphics used are a great source of inspiration, so with this in mind, I have created a quick tutorial using the coloured graphics from the Wings & Things Collage packaging ...
I have made a You Tube video explaining how I made the card (HERE & it's only 17 miniutes long) but I appreciate not everyone wants to look/listen/watch a video, so here's a quick(ish) description as to how I made the card.
After stamping the Wings & Things Collage stamp on to smooth water colour card, I gathered my Nuvo Aqua Flow pens together, using the product packaging/graphics as my guide. I began with the yellow and purple elements, moving on to the pink next.
Once all the main image parts were coloured, I looked at the background colours and began filling in those details, bleeding the colour outside the edges.
A quick blast of the heat gun to dry everything off, I decided to add shading using Nuvo water colour pencils. With the black pencil, I followed the outline and blended outwards with water. This created a shadow which was not too pronounced. For some of the shadow detail, I used the black first and then drew another line of colour - eg: green - blending the 2 together to create a darker tone. At all times, I followed the packaging graphics to ensure I was shading in the right places.
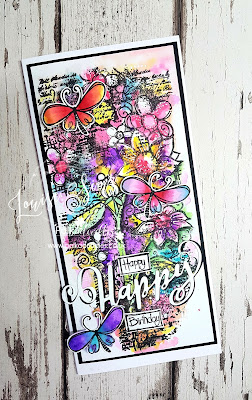
The sentiment is from the Polkadoodles Happy Birthday dies but I have only cut the 'Happy' part, (in white and black card) plus 3 butterflies from the Flowers & Butterfly stamp set, which coordinates with the Wings & Things Collage stamps. These were water coloured using the colours I had already used as my reference.
In order that the sentiment made a little more sense, I have stamped the 'Happy' and 'Birthday' from the Daisy Friends stamp set, cut them out and added to the card. Now my sentiment reads 'Happy, Happy Birthday' - much better ...!
A step by step as to how I completed this project can be found in the You Tube video HERE or alternatively, click on the photo below ... and I promise it's not a long video - only 17 minutes ...
I hope you enjoyed the project and fingers crossed it's helped you to decide which colours you might use first when you stamp a new stamp for the very first time.
Until next time,
Lou
x x x
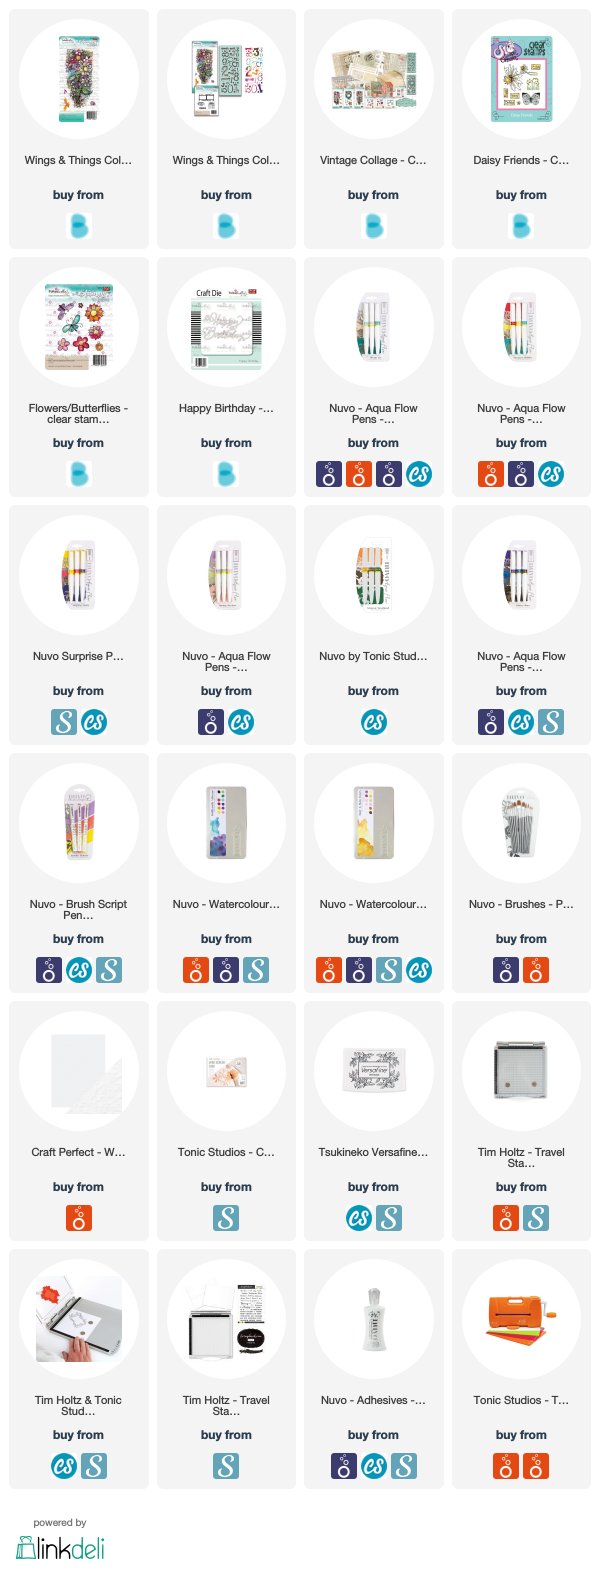
SUPPLIES
I’m listing the products I used below to create my project. Click on the shop link/logo or photo to go directly to the product. Where available I use compensated affiliate links which means if you make a purchase I receive a small commission at no extra cost to you. Thank you so much for your support!<


Comments
gr karin