
Tonic Studios 6" x 6" Cut & Emboss folders with the new colour palate - Merry & Bright
My goodness how the weather changes with the prevailing wind. Very over cast today with the threat of rain. I'm just pleased that the humidity appears to have disappeared ... even if only for a wee while.
Now I was a lucky so & so as I received all the Nuvo goodies for the new colour launch, "Merry & Bright" and although they are centred around Christmas colours, I thought it would be fun to use them for everyday cards too. The colours are simply too beautiful to hide away until the festive season. I have teamed them with the wonderful 6" x 6" cut & emboss folders ...

Now I admit that I did go off on a crafty tangent as wanted to use the folders in a different way. I began by cutting 3 circles in different sizes and then embossed them as follows:
smaller circle - Swirling flora
medium circle Swirling Flora
largest circle - Butterfly Forest
Each of the die cuts were spritzed with Beryl Swirl mica mist and then further coloured with Moroccan Teal hybrid ink using a blending dauber. I have also picked out floral elements using Sliced Strawberry hybrid ink - these ink pads are part of the new Merry & Bright release.

Once this was done, I had to then stick the pieces on to my circular card base. I'm going to try and explain the order I did this in, so fingers crossed, it makes sense.
Outside layer
Stick largest circle - embossed using Butterfly Forest. Do not worry about the aperture missing.
Middle layer
Stick embossed circle - Swirling Flora folder - with 3D foam pads.
Again do not worry about any aperture.
Smallest layer
Again add 3 D foam pads and place centrally but towards the bottom. Using the cut out from the aperture, place back in the centre with glue, filling any of the gaps with the die cut elements. The aperture piece and die cuts have been coloured as per the layers
and now form part of the whole background.

Using all the die cut elements cut whilst creating your layers, colour them to match your card. I have die cut extra pieces too and coloured these with a mixture of hybrid inks and also the new Fusion Red embellishment mousse. As a finishing touch I have a few "drops" using the new colours - Aqua Plains & Red Sunstone.

The sentiment has been made using the "Me to You" strip die, cut 3 times in Candy Red added to a vellum background.
Sighs deeply as although this card is very easy to make, writing the instructions aren't! I'm hoping the description makes sense but if you need any further information, please do ask. If you pop over to the Tonic Studios store, you can get an extra 10% off your goodies - including sale items - click on photo below

Thank you for popping over and if you can, pop back tomorrow as there is a new Tonic Studios launch on Create and Craft TV ... sneak peek below ...


Lou
x x x
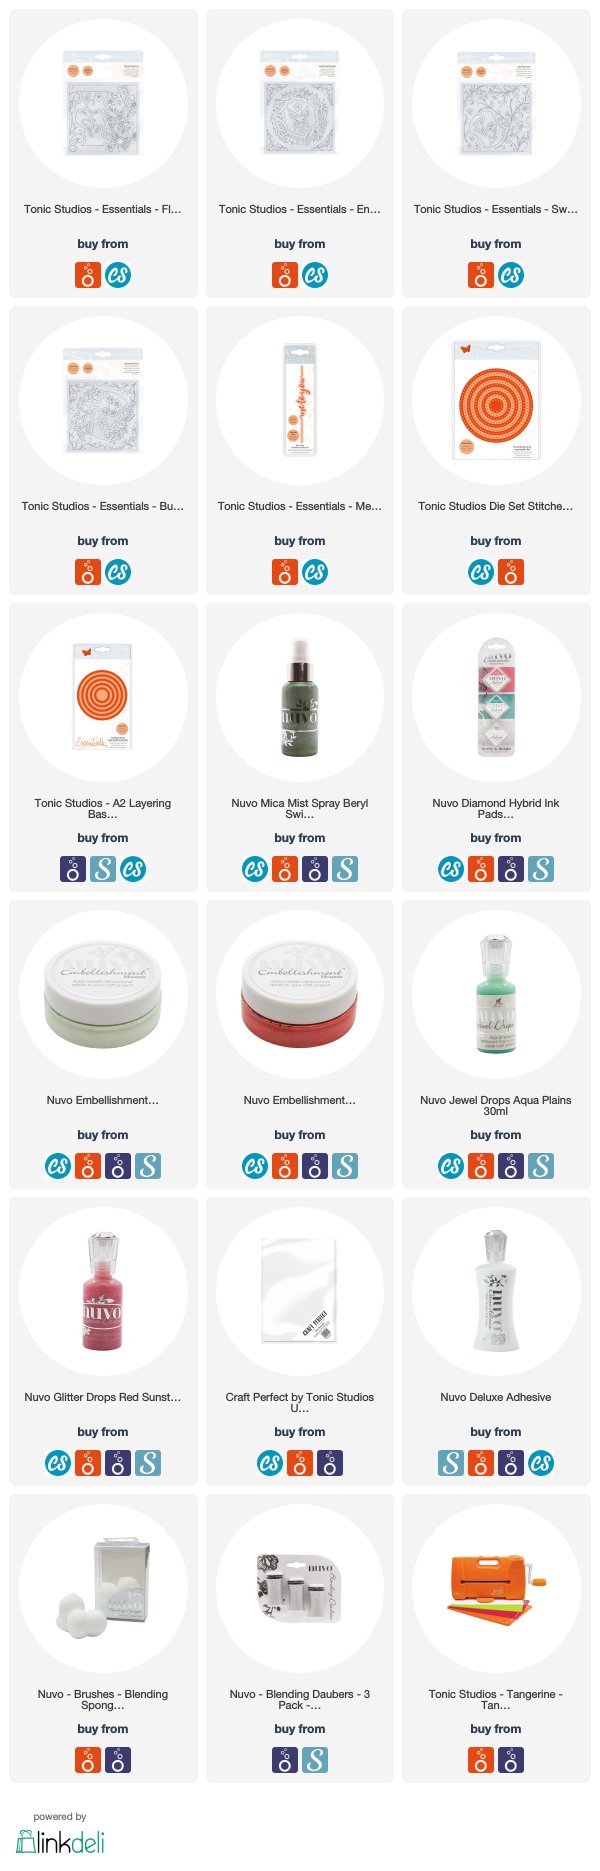
SUPPLIES
I’m listing the products I used below to create my project. Click on the shop link/logo or photo to go directly to the product. Where available I use compensated affiliate links which means if you make a purchase I receive a small commission at no extra cost to you. Thank you so much for your support!
I'd like to enter my card in to the following challenges:
Dragonfly Dreams - things with wings
Love 2 Create - anything goes
A perfect time to craft - anything goes
Die-cut Diva's - anything goes
Dies R Us - birthday
Comments
Gr Karin
Absolutely stunning Louise, love it all, thank you for sharing with the DT from WE Love To Create lol Hugs TErry xxx