
Card ideas using big background stamps - Hero Arts bold prints stamps
On my blog today, I am showing two ways to use Hero Arts bold print 6" x 6" background stamps to create the same card. I have even used the same colours & embossing powders, plus the beautiful Hero Arts Dragonfly Fancy Die.
I was a very lucky, excited crafter this weekend because I was able to demo a beautiful selection of Hero Arts products on HOCHANDA. Hero Arts are a new supplier to the channel and this was part of HOCHANDA's New Arrivals Event.

YOUTUBE VIDEO
HOCHANDA have very kindly sent me a link to the hour where I demoed this card. I have cut it down to just the demo, which will show you the layering/inking techniques I used.
If you are new to my YouTube channel, please subscribe & hit the notifications button. This means I can share my new video content with you as I publish it.
MY PROJECT
Each card features a different Hero Arts Bold Print background stamp: Ocean Waves & Branches. I began by using a range of green & blue inks from Hero Arts Peacock Layering & Libby's Purple Garden ink cube sets & gradually built up my background. I also used the same colours to blend around the edges too.

Next using Ocean Waves again, with Unicorn ink, I added another layer of ink. I wanted to create the feeling of movement for a watery background. Again, using the same stamp, I went over with clear embossing ink & glittery embossing powder. This created a further depth to all the previous ink layers.

When I was happy with my panel, I die cut the outer layer of the Dragonfly Fancy Die directly in to my background. The background was then mounted on to a black mat layer with 3D foam pads.

I added back in the piece I had cut away, which gave a relief & also somewhere to place the Dragonfly. Using a piece of vellum & the same outer die, I created a background layer. I decided to stamp detail on the vellum using the Ocean Waves stamp with Unicorn ink. This I then embossed with clear embossing powder.

I die cut the Dragonfly from black card, mounted this on to the vellum layer & then added both to my card, in the relief area. As a finishing touch, I stamped the sentiment on to vellum, embossing with either clear or silver powder.

Over the next week, I will be adding more of my Hochanda demos sharing a range of projects made using Hero Arts stamps, dies & inks. Please follow my blog and that way, you'll know when I have published a new post.
Many thanks for popping over today and list of all supplies used, can be found below.
Lou
x x x
SUPPLIES
I’m listing the products I used below to create my project. Click on the shop link/logo/photo to go directly to the product. Where available, I use compensated affiliate links. This means if you make a purchase via one of my links, I receive a small commission at no extra cost to you. Thank you so much for your support.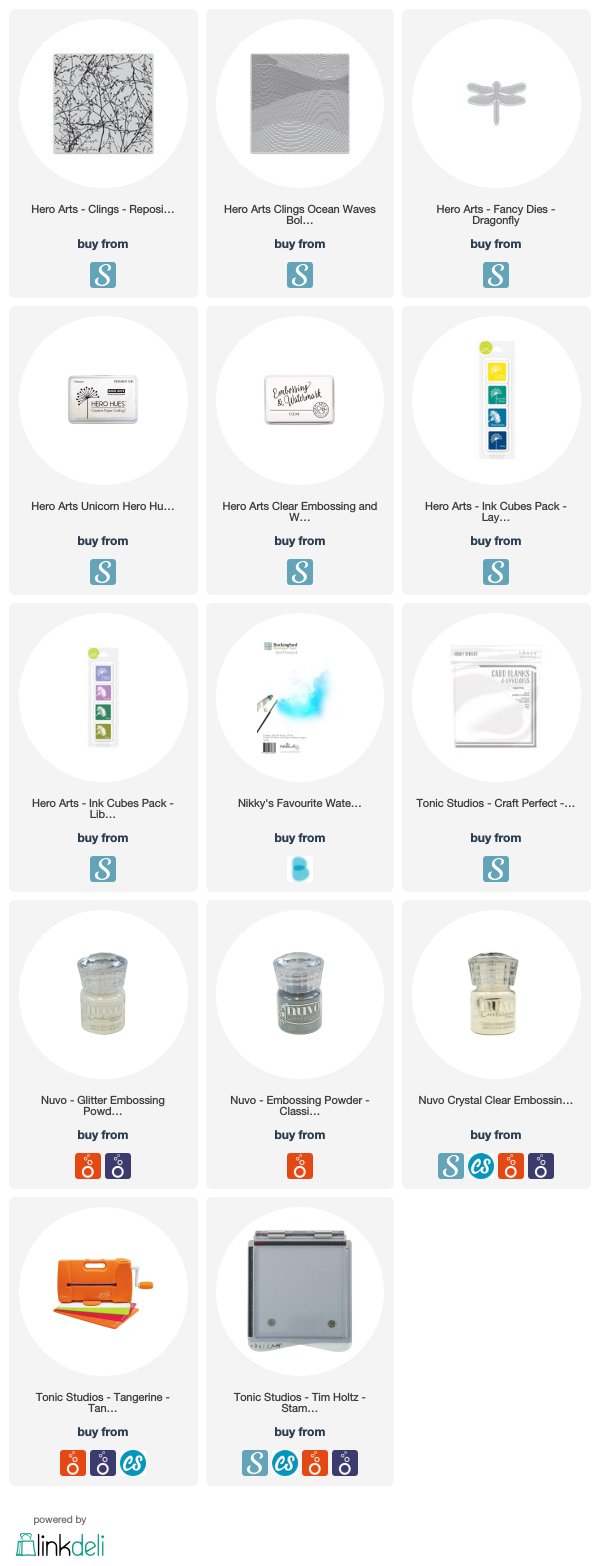
Comments
gr karin