My Memory Book die sets - Spring Garden & Our Story from Tonic Studios
Oh I have been a wee bit childish & had many a giggle at the "half cut" part of the name for the new memory book dies from Tonic Studios. However in all seriousness, the Spring Garden & Our Story are beautiful die sets. They are stand alone die sets or will work seamlessly with the existing memory Book 1 die sets too - Base Creator & Layered Cascade.
More photos - oodles in fact - plus YouTube video can be found below.
At the back of all the flips & flaps, I created a pocket element. This where the twine is held in place securely but also in a way that doesn't create a ridge on the photo mat layer.
PHEW ... think that is all! Many thanks if you have managed to get this far. Your visit is greatly appreciated. If my description is not as detailed as you would like, have a look at my YouTube video sharing this project HERE
What have you created with these wonderful, versatile dies? Please do share your ideas by leaving a comment below.
Here's my first album using the new dies from the Memory Book range ...
YOUTUBE VIDEO
Click below to see and up close look at the dies and my finished album.
All about the dies start at 00:48
My album starts at 04:45
MY PROJECT
Oh where to begin ...! From the start I knew that I really wanted to "push" these dies and see what I could create using them. I also wanted to try and create lots of flips, flaps etc but secure them in place without magnets or if I needed to use a magnets, very few & far between.Front cover
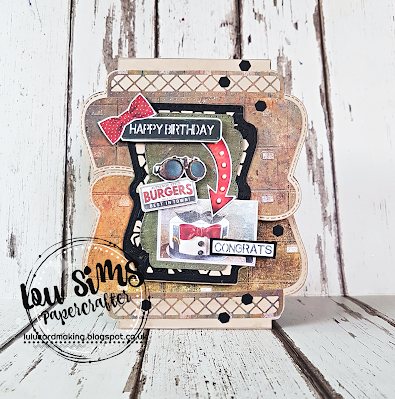
I have created a gatefold opening but it is closed using a die cut panel with magnets. This is probably one of the few times I used a magnet in my book.
Opening the cover
I wanted to "push" the gatefold dies to see how they could be layered & how many different ways I could then use them to create a "bespoke" look ...
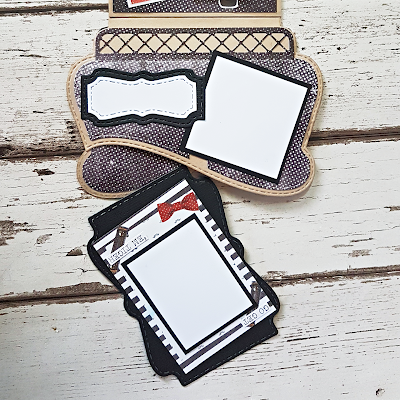
I have created hidden pockets in both gatefold flaps where I can add tags & photo mounts. These were created using the dies but only gluing on 3 sides. You can see a close up in my YouTube video.
First section
My main goal was to create multi-layered pages which didn't need magnets to close them. I want the interactive feature but without having to think where to put the magnets & then how I was going to cover them.
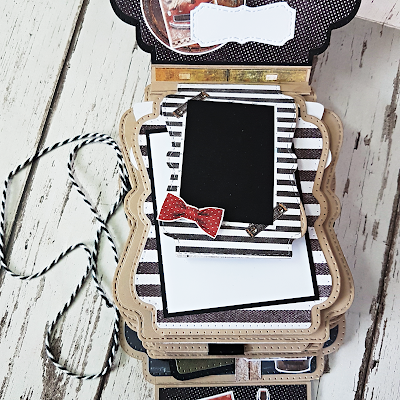
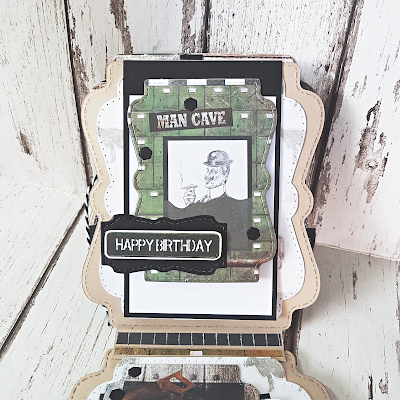
These pages, flips & flaps are held together with a simple twine closure. Open the closure to reveal the first pages ....
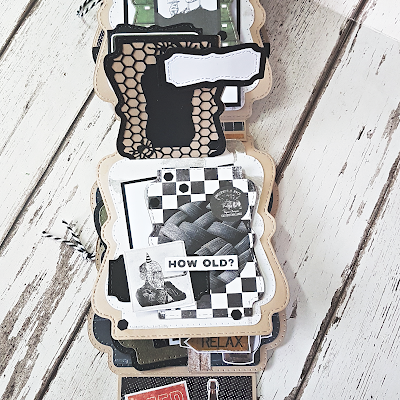
....plus flips & flaps with multiple opportunities to add photos.
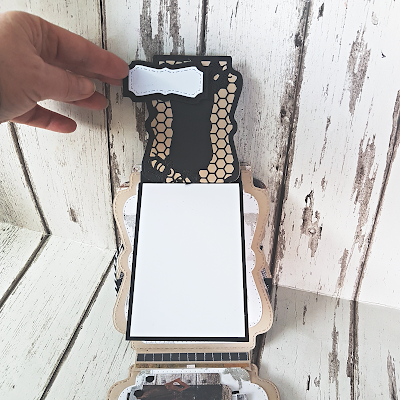
At the back of all the flips & flaps, I created a pocket element. This where the twine is held in place securely but also in a way that doesn't create a ridge on the photo mat layer.
Second pages
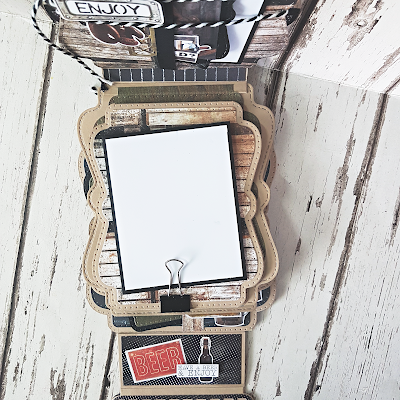
Again, I have created a set of multiple pages but rather than hold together with magnets, one single bulldog clip is used instead. I did this idea as I though it was a cool way to add another decorative element in to the album itself.
Remove the bulldog clip to reveal different flaps ready to add your photos or memorabilia.
On the back page, I have layered flaps on top of each other. These too were secured with the one bulldog clip.
Last page
For this page, I have used the weight of the layers to keep them in place. Again no magnets needed as the weight of the pages, hold everything in place.
Back cover
I created a side pocket which holds extra photo mounts & a note book. Remove these items ad the pocket then becomes an area to store tickets, postcards or other elements that suit the book.
PHEW ... think that is all! Many thanks if you have managed to get this far. Your visit is greatly appreciated. If my description is not as detailed as you would like, have a look at my YouTube video sharing this project HERE
Original Memory Book Dies
These 2 new sets work perfectly with Memory Book 1 dies - Base Creator & Layering Cascade. You can mix & match the detail dies with your existing memory book dies. This set is a perfect "add on" but as mentioned earlier, will work perfectly as a stand alone die set(s).What have you created with these wonderful, versatile dies? Please do share your ideas by leaving a comment below.
Take care & see you soon,
Lou
x x x
Lou
x x x













Comments
sorry did not resieved anything tey.
Gr Karin