Mother's Day card using Polkadoodles transitional layering stamps + distress inks
The inspiration for next project was to try and create a layered/dimensional card but keep it one layer. After recently sending a few cards in the post, the difference between flat, mildly thick, slightly thicker & thick is HUGE in costs. Slightly off topic ... do need to get me one of those slot guides. Would definitely help when I grab the 3D foam pads or gels!
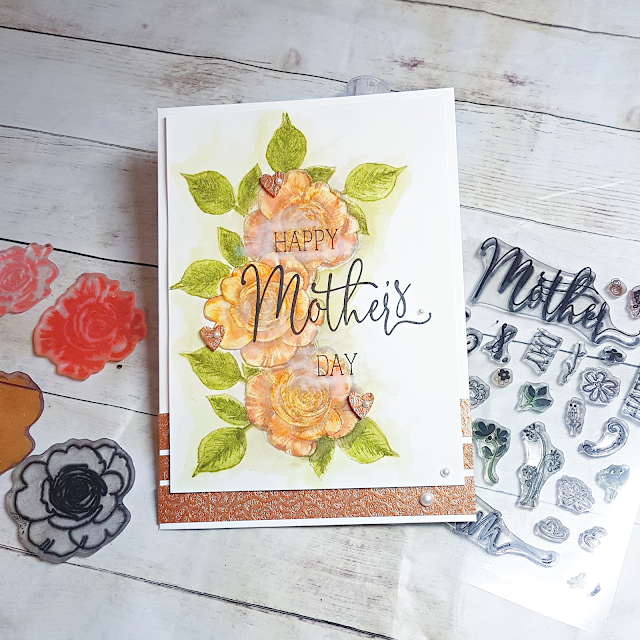
When creating my card design, I took all the above in to consideration & knew that the Polkadoodles Spring Rose transitional layering clear stamp set would be the way forward.
I have used distress inks to create a vintage, faded background with the stamps.
MY PROJECT
Using the main rose outline stamp, I began creating my flower bouquet. I cut a few masks to cover the roses & next added the leaves. To have a soft outline, I am using pumice stone distress ink.
Using the different transitional layers in the stamp set, I began colouring the roses first & then the leaves. Additional shading was created by using pumice stone distress ink.
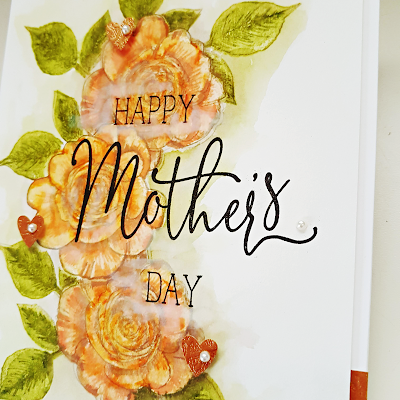
Now I did make a "boob" when layering up my stamps - can be seen up close in the video - but wanted to share a way that we can rescue a project when things like this happen. Again using pumice stone, I blended the outlines out. I really loved this, so added a little green using peeled paint distress ink.
Okay, have to admit, I couldn't resist adding some layers/depth to my card but the card design would work perfectly without them.
YOUTUBE VIDEO
A full step by step of how I created my card can be seen in my accompanying YouTube video.
Hope you enjoyed watching the video & sharing some of my thought process. After tying this post, I think this design would be great in bolder colours & maybe embossing the sentiments/words. What do you think?
ALL ABOUT THE GIRLS COLLECTION
The Polkadoodles Spring Rose transitional layering stamps are part of the "All about the girls" collection. You can purchase the complete collection, or just the different elements that work for you.
To see all the new products added to the Polkadoodles store, look HERE.
Until next time, happy crafting & hope to see you again soon,
Lou
x x x
When creating my card design, I took all the above in to consideration & knew that the Polkadoodles Spring Rose transitional layering clear stamp set would be the way forward.
I have used distress inks to create a vintage, faded background with the stamps.
MY PROJECT
Using the main rose outline stamp, I began creating my flower bouquet. I cut a few masks to cover the roses & next added the leaves. To have a soft outline, I am using pumice stone distress ink.
Using the different transitional layers in the stamp set, I began colouring the roses first & then the leaves. Additional shading was created by using pumice stone distress ink.
Rose outline: pumice stone
Rose: scattered straw, dried marigold, spiced pumpkin
Leaves: peeled paint
Now I did make a "boob" when layering up my stamps - can be seen up close in the video - but wanted to share a way that we can rescue a project when things like this happen. Again using pumice stone, I blended the outlines out. I really loved this, so added a little green using peeled paint distress ink.
Okay, have to admit, I couldn't resist adding some layers/depth to my card but the card design would work perfectly without them.
YOUTUBE VIDEO
A full step by step of how I created my card can be seen in my accompanying YouTube video.
Hope you enjoyed watching the video & sharing some of my thought process. After tying this post, I think this design would be great in bolder colours & maybe embossing the sentiments/words. What do you think?
ALL ABOUT THE GIRLS COLLECTION
The Polkadoodles Spring Rose transitional layering stamps are part of the "All about the girls" collection. You can purchase the complete collection, or just the different elements that work for you.
To see all the new products added to the Polkadoodles store, look HERE.
Until next time, happy crafting & hope to see you again soon,
Lou
x x x
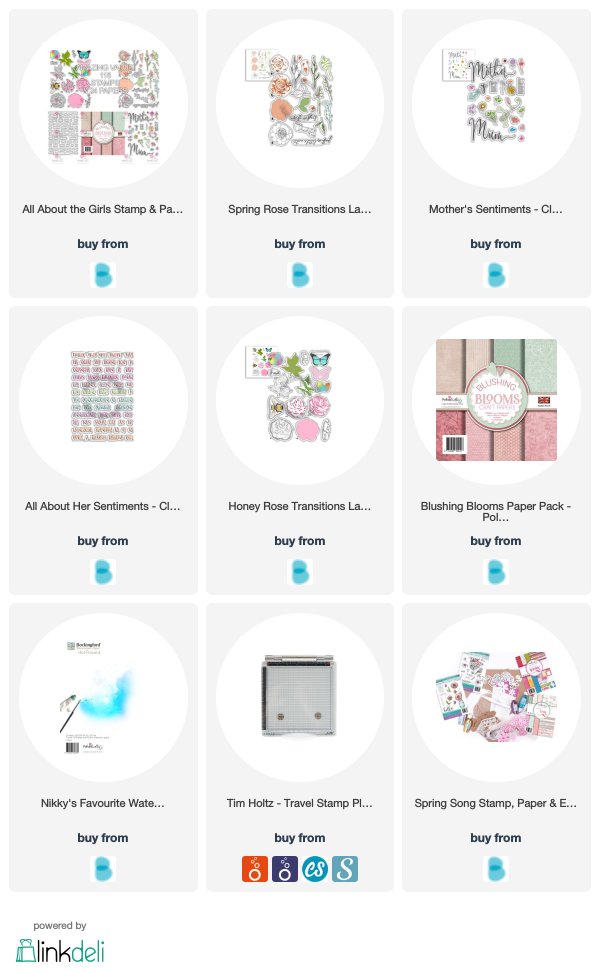
SUPPLIES
I’m listing the products I used below to create my project. Click on the shop link/logo/photo to go directly to the product. Where available, I use compensated affiliate links. This means if you make a purchase via one of my links, I receive a small commission at no extra cost to you. Thank you so much for your support.


Comments
Gr Karin