Upcycled cardboard pieces to create a photo frame
For Love 2 Create Challenges with Polkadoodles, I thought I would make a dent in cardboard/chipboard A4 pieces that I have been squirrelling away from the hard back envelopes I have received in the post. Thought it might be rather cool to upcycle them in to a piece of home decor. So grabbing a couple of bits of the A4 card/chip board I made a mosaic photo/picture frame ...
MOSAIC FRAME
I began by deciding how big I wanted my frame & then how big the raised mosaic tiles would become. Below is my cutting/measurements guide.
After creating all my tiles, I joined them together to be 3 layers thick. Next came the fun decorating part. Bottom/base layer has been created using DecoArt acrylic paints, layered on top of each other.
Using Polkadoodles "Best of Days" and " Delicate Doodles" stamp sets, I decorated my tiles. I kept colouring to a minimum, using DecoArt Snow white acrylic paint.
Once all the tiles were completed and stuck to the base layer, I began thinking about grouting the tiles. I have used Ranger Mixed Media embossing powders as my colour but did play around with whether to use an embossing pen or pva glue.
As a final finishing touch, I went around the complete frame with embossing powdr & then added a faux stitched border.
YOUTUBE VIDEO
I have created a YouTube video which was really filming myself as I made my picture frame. It has been edited and is just over 6 minutes long. Click on photo below to watch the video.
If you are not already a subscriber to my YouTube channel, would love it if you became one. Please don't forget to "hit" the notifications button too.
SUPPLIES
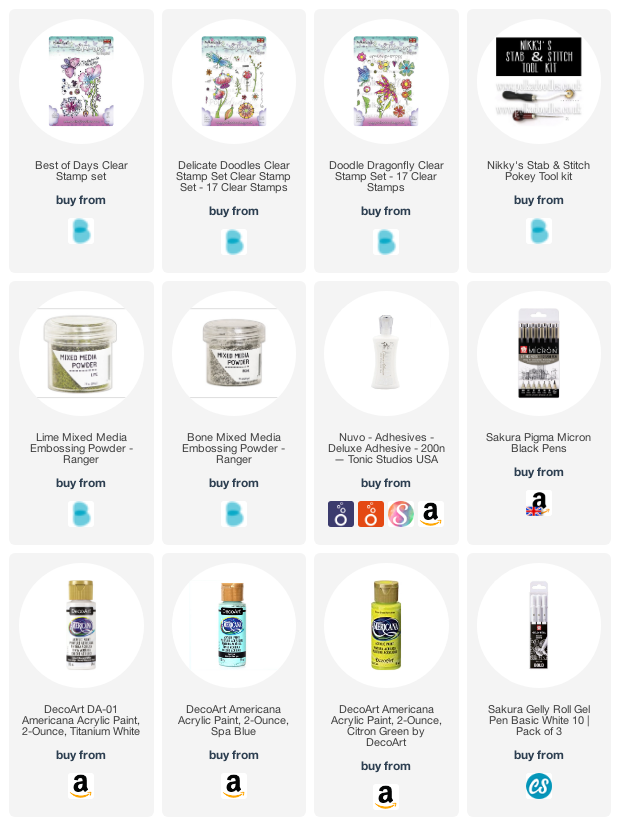
Everything I have used is listed at the bottom of the page. Links are affiliated . You can find out what affiliated links are etc, by looking at the page at the top on my blog or clicking this link.
Have you be upcycling during lockdown? What have you altered? Would love to see your projects, so leave a comment below & I can pop over for a nose.
Until next time,
Lou
x x x
Supplies

Pinterest
I have also created a YouTube video sharing the "making process" - details below.
MOSAIC FRAME
I began by deciding how big I wanted my frame & then how big the raised mosaic tiles would become. Below is my cutting/measurements guide.
After creating all my tiles, I joined them together to be 3 layers thick. Next came the fun decorating part. Bottom/base layer has been created using DecoArt acrylic paints, layered on top of each other.
Using Polkadoodles "Best of Days" and " Delicate Doodles" stamp sets, I decorated my tiles. I kept colouring to a minimum, using DecoArt Snow white acrylic paint.
Once all the tiles were completed and stuck to the base layer, I began thinking about grouting the tiles. I have used Ranger Mixed Media embossing powders as my colour but did play around with whether to use an embossing pen or pva glue.
As a final finishing touch, I went around the complete frame with embossing powdr & then added a faux stitched border.
YOUTUBE VIDEO
I have created a YouTube video which was really filming myself as I made my picture frame. It has been edited and is just over 6 minutes long. Click on photo below to watch the video.
If you are not already a subscriber to my YouTube channel, would love it if you became one. Please don't forget to "hit" the notifications button too.
SUPPLIES
Everything I have used is listed at the bottom of the page. Links are affiliated . You can find out what affiliated links are etc, by looking at the page at the top on my blog or clicking this link.
Have you be upcycling during lockdown? What have you altered? Would love to see your projects, so leave a comment below & I can pop over for a nose.
Until next time,
Lou
x x x
Supplies


Comments
Gr Karin