Sharing 3 ideas using Tonic Studios Memory Book Satchel Bag die set
A wee while ago, Tonic Studios launched a new set of dies to join the existing memory Book series - Memory Book Satchel Die Set. Gotta say, I had a "blast" creating with these dies as there is simply loads & loads you can do with the die set. I only made 3 projects for the launch but could have made loads more as once I started making, ideas flooded forward.
OVER VIEW OF THE DIE SET
I have made a quick 5/6 minute video showing the die set and also my ideas with a quick walk through. Click on photo below to watch the video.
PROJECT ONE
In my first project, I have used the dies as they were designed and created my satchel using the majority of the dies. However instead of using the decorative dies, I have used the main layering panels with decorative paper.
I have made a close up video of my Memory Book Satchel showing how I have put all the components together. I love how you can change the feel of the satchel just by the colours you use.
PROJECT TWO - Double depth Satchel bag
For this Memory Book Satchel I wanted to "push" the dies and see how many changes I would need to do to change the design. I surprised myself as there was only one addition I had to create to make my double depth satchel bag.
My added extra was to the sides. I had to create an extra panel - blue card in photo below - to hold the side fastenings. Seriously, that was all I had to do!
Inside the satchel, there are 8 wallets to keep photos within, journal cards or anything that works for the project. As I have a double width front, I created a middle band, to hold even more "stuff". Now I have also played around with the wallet design to create a different style of interactive pockets tto.
Yep, I have another video showing you around my Memory Book Satchel. I also share how I created the satchel and the die cuts you need. Click on photo below to see how it was created.
PROJECT THREE - mini album inside satchel
For my final project for this launch, I decided to create a mini album that sits within the Satchel Bag. I haven't used the wallet pockets in the satchel but in the mini album itself.

Below, is a link to all four videos I made and what each video covers.
OVER VIEW OF THE DIE SET
I have made a quick 5/6 minute video showing the die set and also my ideas with a quick walk through. Click on photo below to watch the video.
PROJECT ONE
In my first project, I have used the dies as they were designed and created my satchel using the majority of the dies. However instead of using the decorative dies, I have used the main layering panels with decorative paper.
I have made a close up video of my Memory Book Satchel showing how I have put all the components together. I love how you can change the feel of the satchel just by the colours you use.
PROJECT TWO - Double depth Satchel bag
For this Memory Book Satchel I wanted to "push" the dies and see how many changes I would need to do to change the design. I surprised myself as there was only one addition I had to create to make my double depth satchel bag.
My added extra was to the sides. I had to create an extra panel - blue card in photo below - to hold the side fastenings. Seriously, that was all I had to do!
Inside the satchel, there are 8 wallets to keep photos within, journal cards or anything that works for the project. As I have a double width front, I created a middle band, to hold even more "stuff". Now I have also played around with the wallet design to create a different style of interactive pockets tto.
Yep, I have another video showing you around my Memory Book Satchel. I also share how I created the satchel and the die cuts you need. Click on photo below to see how it was created.
- A look around the satchel - 00:39 to 07.30
- Creating the satchel - 07:31 to 10.40
PROJECT THREE - mini album inside satchel
For my final project for this launch, I decided to create a mini album that sits within the Satchel Bag. I haven't used the wallet pockets in the satchel but in the mini album itself.
Using the same dies that make the satchel bag, I have created a mini album, which also looks a little like the satchel. It sits perfectly inside.
I have also used the same papers & cardstock to ensure that they both matched.
I have a full step by step video showing both how to make a satchel & also how to make the mini album. Click on photo link below.
- Making the satchel - 00.42 to 11:00
- Making the mini album - 11:05 to 20:00
- Making the pockets/wallets - 16:00 to 18:00
- Walk through both finished mini album & satchel
SUPPLIES
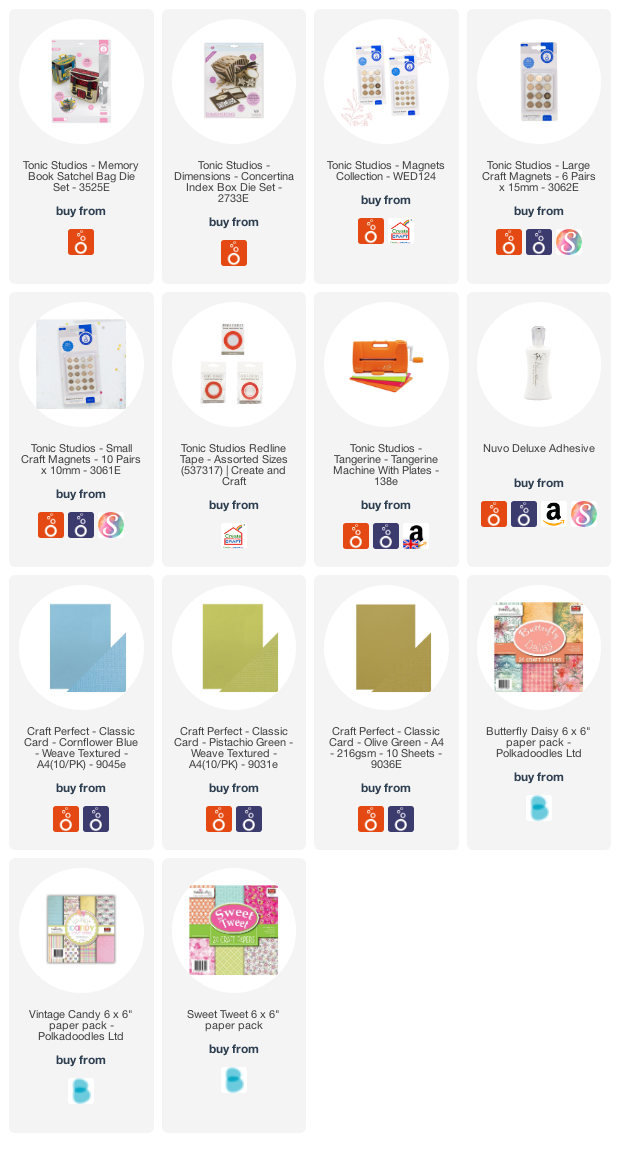
Everything I have used is listed at the bottom of the page. Links are affiliated . You can find out what affiliated links are etc, by looking at the page at the top on my blog or clicking this link.
Phew ... think I've covered everything & have tried hard to keep it "to the point". Can't wait to see what you do with your Memory Book Satchel Bad dies when you receive yours. Please do share with me.
Until next time,
Lou
x x x
Supplies


Comments
Gr Karin