
Mixed media cards with GelliArts & Polkadoodles
Today I ecstatic, giddy, excited dot com! Why? Well actually a whole host of reasons that combined together have made me a very happy crafter.
1] GelliArts are sharing this post & accompanying YouTube video on their channels/social media outlets, 2] I'm on HOCHANDA TV today sharing the wonders of everything GelliArts & 3] new mixed media stamps from Polkadoodles ... !
So without waiting, I grabbed my GelliArts gelli plate & began creating a whole host of backgrounds to use with my new Polkadoodles mixed media stamps.


You can see my cards in great detail below & also how I created them in a YouTube video ...
MY BACKGROUNDS
Using my 6" x 6" GelliArts gelli plate, Dina Wakley heavy body paints & a selection of Polkadoodles stencils, I began making a selection of different layered backgrounds. I created lots of paint layers & even added some stamping in-between too.
To mix things up a little, I also used distress oxide ink pads too, adding these layers on top of my acrylic paint layers & also making separate backgrounds too.
Once everything was dry, I began stamping lots & I mean lots of images on to the backgrounds ready to cut out.
You can see how I created the above in my YouTube video below ...
CARD ONE
With all my stamped elements, I began layering the floral images on to a tag & washi tape background.

Using 3D foam pads, I have elevated some layers to make elements stand out more and if I'm honest, it saved dding a shadow.

In my YouTube video I show the basic construction of the card but afterwards, I added the sentiment & also the twine to the tag.

CARD TWO
Using the branch images, I added my "Stay Chirpy" birds. Next I added the flowers & leaves.

Again, I have raised different parts using 3D foam pads. This helps the birds look nestled in to all the fauna elements.

As my finishing touches, I added the sentiments, colour to the birds with Ecoline pens & a few wee hearts.

CARD THREE
I think out of all my cards, this is probably the simplest in design. I added the three tree images first and then began layering all the other elements.

As my finishing touch, I added a little washi tape & the sentiment. The Nuvo stone drops were added to cover up several marks that I couldn't remove from the card.

YOUTUBE VIDEO
In my video I show how I created each background, how I used the backgrounds to create my stamped images & finally how each card was made. I have listed all the timings below ...
Making the backgrounds - 00:00 to 06:17 Stamping the designs - 06:18 to 08:54 Card one - 08:56 to 09:59 Card two - 10:00 to 11:46 Card three - 11:47 to 14:25
If you are new to my YouTube channel, it would be so cool if you became a subscriber, hit the notifications button & if you enjoyed my video, tap the like button too.
WHERE CAN YOU FIND ME
If this is the first time visiting my blog, welcome. I hope you can pop over again to see what has been inspiring me. I can also be found on the following platforms ...
Blog - https://lulucardmaking.blogspot.com/ (here) Facebook - Louise Sims
Facebook - Lou Sims, Papercrafter (slowly moving all my crafting posts to here) Instagram - @simslou Pinterest - Lou Sims
Everything I have used to create this project, can be found at the bottom of this post with all links needed. However you can check out each what GelliArts has on offer HERE & Polkadoodles full crafty catalogue HERE.
Many thanks for popping by today & I loved having you visit.
Take care & hope to see you again soon,
Lou
x x x
1] GelliArts are sharing this post & accompanying YouTube video on their channels/social media outlets, 2] I'm on HOCHANDA TV today sharing the wonders of everything GelliArts & 3] new mixed media stamps from Polkadoodles ... !
So without waiting, I grabbed my GelliArts gelli plate & began creating a whole host of backgrounds to use with my new Polkadoodles mixed media stamps.


You can see my cards in great detail below & also how I created them in a YouTube video ...
MY BACKGROUNDS
Using my 6" x 6" GelliArts gelli plate, Dina Wakley heavy body paints & a selection of Polkadoodles stencils, I began making a selection of different layered backgrounds. I created lots of paint layers & even added some stamping in-between too.
To mix things up a little, I also used distress oxide ink pads too, adding these layers on top of my acrylic paint layers & also making separate backgrounds too.
Once everything was dry, I began stamping lots & I mean lots of images on to the backgrounds ready to cut out.
You can see how I created the above in my YouTube video below ...
CARD ONE
With all my stamped elements, I began layering the floral images on to a tag & washi tape background.

Using 3D foam pads, I have elevated some layers to make elements stand out more and if I'm honest, it saved dding a shadow.

In my YouTube video I show the basic construction of the card but afterwards, I added the sentiment & also the twine to the tag.

CARD TWO
Using the branch images, I added my "Stay Chirpy" birds. Next I added the flowers & leaves.

Again, I have raised different parts using 3D foam pads. This helps the birds look nestled in to all the fauna elements.

As my finishing touches, I added the sentiments, colour to the birds with Ecoline pens & a few wee hearts.

CARD THREE
I think out of all my cards, this is probably the simplest in design. I added the three tree images first and then began layering all the other elements.

As my finishing touch, I added a little washi tape & the sentiment. The Nuvo stone drops were added to cover up several marks that I couldn't remove from the card.

YOUTUBE VIDEO
In my video I show how I created each background, how I used the backgrounds to create my stamped images & finally how each card was made. I have listed all the timings below ...
Making the backgrounds - 00:00 to 06:17 Stamping the designs - 06:18 to 08:54 Card one - 08:56 to 09:59 Card two - 10:00 to 11:46 Card three - 11:47 to 14:25
If you are new to my YouTube channel, it would be so cool if you became a subscriber, hit the notifications button & if you enjoyed my video, tap the like button too.
WHERE CAN YOU FIND ME
If this is the first time visiting my blog, welcome. I hope you can pop over again to see what has been inspiring me. I can also be found on the following platforms ...
Blog - https://lulucardmaking.blogspot.com/ (here) Facebook - Louise Sims
Facebook - Lou Sims, Papercrafter (slowly moving all my crafting posts to here) Instagram - @simslou Pinterest - Lou Sims
SUPPLIES
Many thanks for popping by today & I loved having you visit.
Take care & hope to see you again soon,
Lou
x x x
SUPPLIES
If you want to find out about the products I have used, click on the shop link(s) below. Affiliate links are used at no cost to you. Affiliate disclosure can be found here.
Thank you so much for your continued support.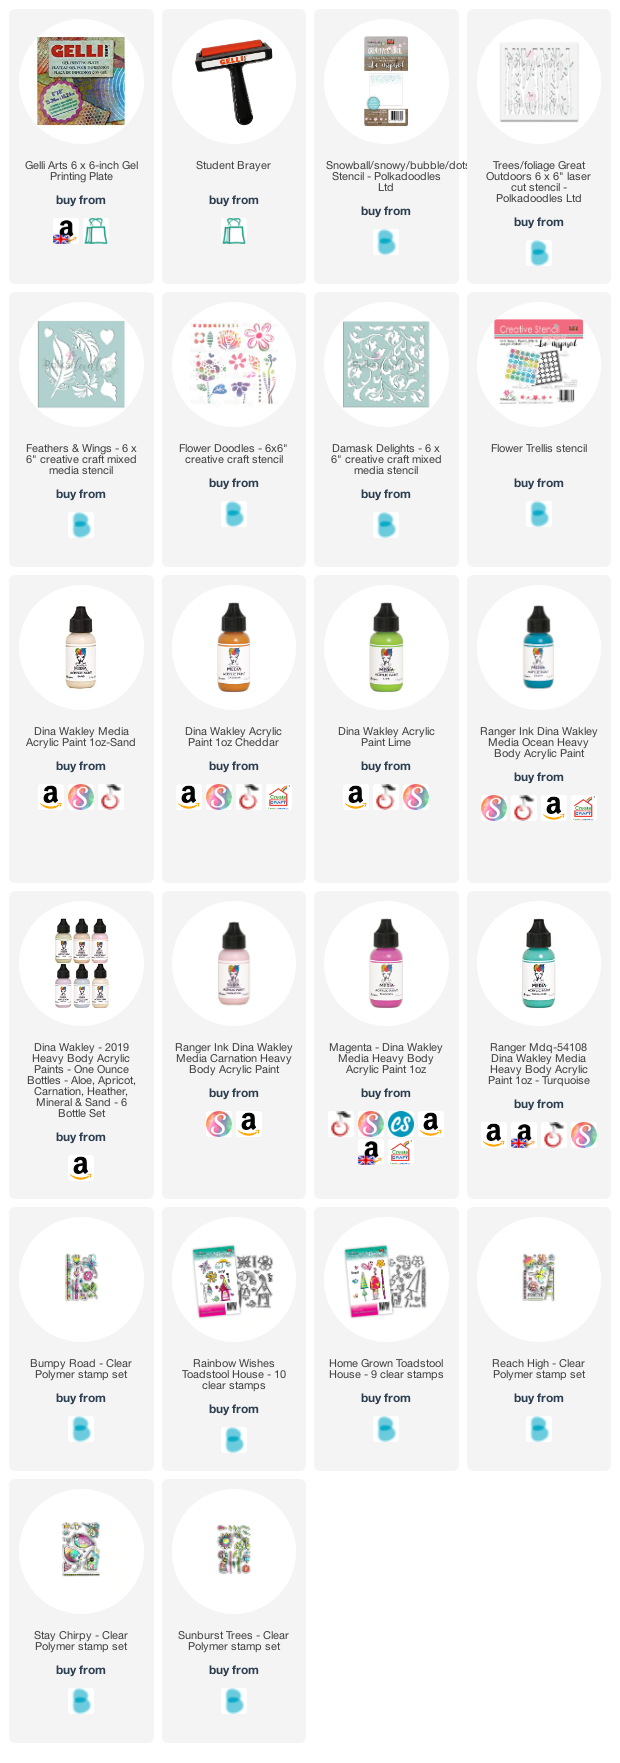
If you want to find out about the products I have used, click on the shop link(s) below. Affiliate links are used at no cost to you. Affiliate disclosure can be found here.
Thank you so much for your continued support.
Comments
Gr Karin