
Gelli Arts Perfect Placement Tool - quick layering ideas
Oh boy oh boy was I a "kiddy kipper" - to borrow the phrase from Emma Blake - when I received my Gelli Arts Perfect Placement Tool.
For me, the wonders of layering with paints, stencils & stamps never ceases but I'm also not worried if I don't pull the perfect print. However I do know that for others, this can be the bit that turns them running to the hills from their gelli plate.

Hopefully in this post I will share some of my prints that I have created & also a YouTube video showing the printing process.
PERFECT PLACEMENT TOOL


This is a big bit of acrylic that is the same thickness as your gelli plate. It works perfectly with 3"x5", 7"x5", 8"x10" plus 6"x6". The guide has etched markings showing where the edge tools should be placed for each plate size.


The placement tools have metal legs which are then placed in the holes on the placement tool itself on 3 sides. It creates the perfect area to repeat print inside. Photos above are of my well used placement tool and a little covered in paint lol
PRINTING EXAMPLES
I've made a quick video showing how to create layered prints using different sized plates but then creating extra layers by printing within your prints. I know ... game changer!

Some of the prints I made I have used to create art journal pages by either stamping or collaging on top of the backgrounds. Couldn't quite believe how quickly the ideas came to me and wish that happened more often.


Other prints, I need to do more work on them as colours not quite right or they just need extra layers...


or alternatively I love, love, love them & not quite ready yet to turn them in to a projects just yet ...


One of the things I have always struggled to print successfully on is darker card but using the Perfect Placement Tool really helped me build up the layers of lighter & metallic colours, ready for my final pull. It was the "you can do this" reassurance I needed.


YOUTUBE VIDEO
In this video, I really wanted to explore printing within printing using different sized Gelli Arts plates. One of the main reasons was to see if in doing this process, any of my previous "blah" prints, I could change & enhance. I now realise I can - as I said before "kiddy kipper" moment.
Have you tried out the Perfect Placement Tool yet? What do you think? I love it as it allows me now to take my printing in to a whole new direction. Will still free print but can also do controlled printing too.
Thanks for popping over today & see you all again soon,
Lou
xxx
SUPPLIES
If you want to find out about the products I have used, click on the shop link(s)/icon below. Affiliate links are used at no cost to you. Affiliate disclosure can be found here. Thank you so much for your continued support.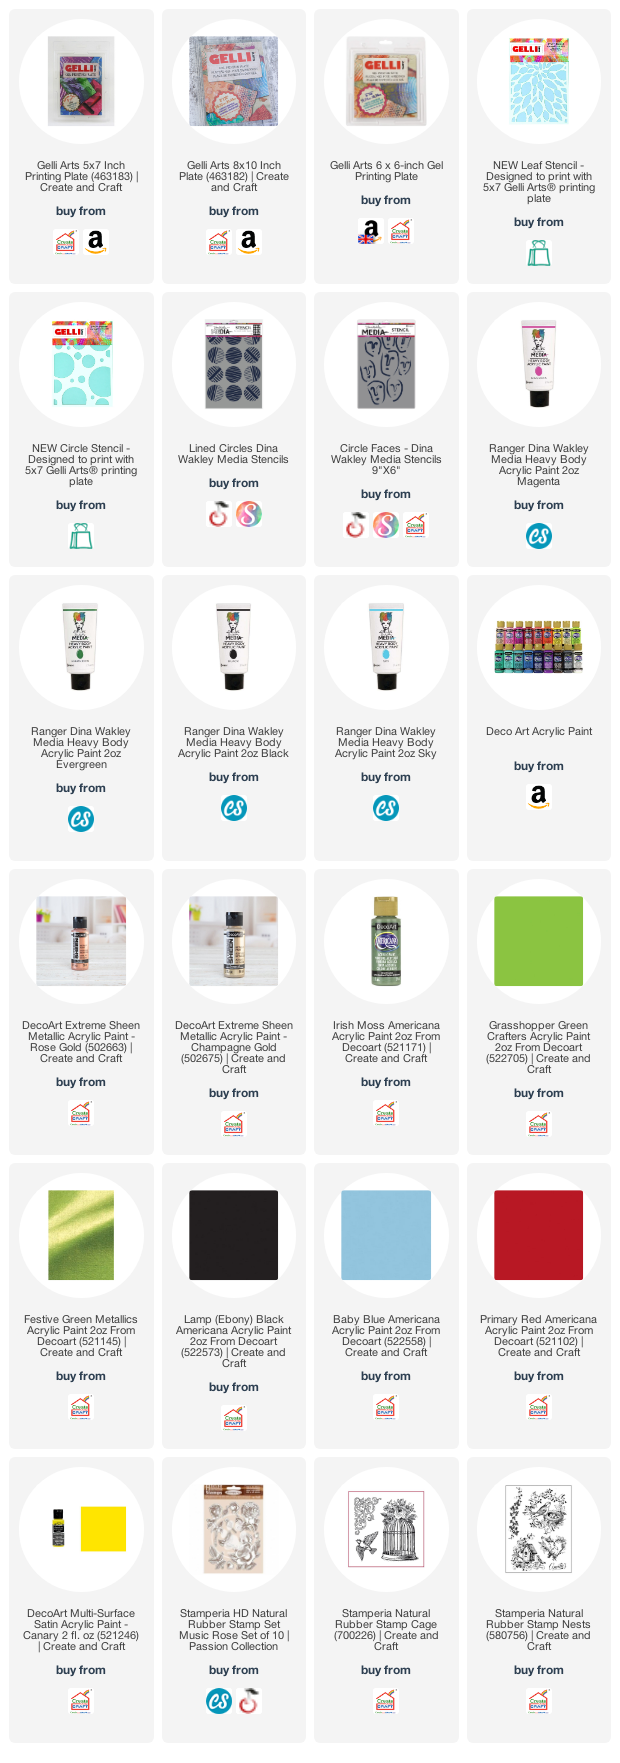
Comments
Gr Karin