Beginners step by step tutorial to printing with oxide inks - BONUS project idea with templates too!
Today I am sharing a full video tutorial showing how to create quick & easy printed backgrounds using a gelli plate & Ranger Distress oxide ink pads.
If you are a new(ish) to gelli plate printing, this is perfect for you.
Link to YouTube videos are below.
Downloadable templates can be found further down the post.
Creating the backgrounds
This make look scary if you are a beginner but I promise it really isn't. I'm using a 8" x 10" GelliArts gelli plate & began by cutting my papers to size. I have stuck to similar oxide ink colours for all the backgrounds but alternated the way I put the oxide inks down on my gelli plate.
These became my first pulls and I repeat the process on the other side of my white card for a bit of continuity.
To add another layer to my prints - on both sides - I grabbed my stencils & the same oxide ink colours & added random printed stencil details.
Now to add texture & break up any harsh lines still remaining, I brought in my stencils but rather than use oxide inks again, I choose to use DecoArt white & gold acrylic paints. I haven't picked out all the stencils pattern but different areas.
Now I was happy with my backgrounds and I could turn them in to my printed art journal.
Art Journal Instructions
Using just my 3 backgrounds, I have created all the elements needed to create the art journal. Below are the cutting & scoring guides. Just click on the photos and save to your PC if you wish to create your own printed art journal.
There are full step by step instructions in my YouTube video below so you can craft along with me.
YouTube videos
I have uploaded two versions of this project. One is a condensed, speed up version showing printing of the backgrounds & also construction of the art journal. It does not have any spoken instructions. The longer video has full spoken instructions from creating the backgrounds, cutting & scoring our art journal pieces & construction of the art journal itself.
SHORT version
FULL tutorial
Printed Art Journal
This is the gelli plate printed art journal when it is closed. In the full tutorial video, I also show to create the closure mechanism.
When the gelli printed art journal is opened, you will see there is an area on the left with a "belly band" to put additional prints, backgrounds, journaling or even photos. On the right hand side are where you find a selection of different "flaps".
Lifting the smaller flaps, you will discover 3 larger/longer pages ready to be further decorated or to become the starting point for your own journaling or even adding photos.
The photo above shows in greater detail all the different sized flaps and how they fit inside the gelli printed art journal.
I hope you enjoyed the video tutorial & if a beginner feel a little more confident now with your printing. Let me know how you got on. Also if you made the art journal, please do share with me & other crafting friends.
Thank you again & hope to see you all again really soon.
Lou
xxx
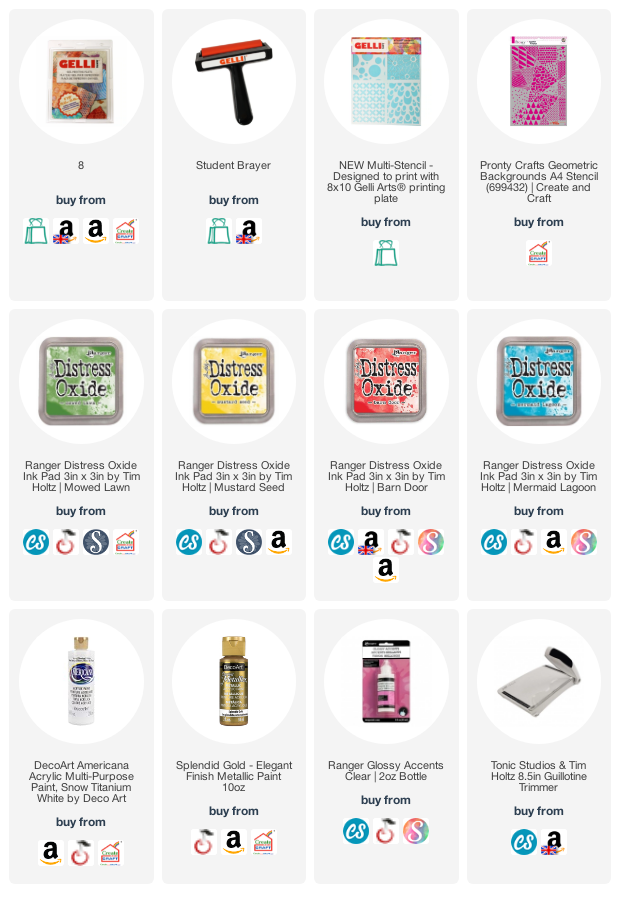
SUPPLIES
If you want to find out about the products I have used, click on the shop link(s)/icon below. Some links are affiliate links which means I earn a small commission if any purchases made via these links. The links are at no cost to you & my full affiliate disclosure can be found here. Thank you so much for your continued support.

.png "Make your own gelli printed art journal with Lou Sims - free template")


Comments
Gr Karin