Upcycling an old t-shirt using GelliArts Gelli plates & acrylic paint
I have so wanted to do this for a very long time. Main reason ... when I wear anything white, it can be dirty before I've even left my bedroom. This means I have a stack of old white t-shirts that are okay to wear under something but not good enough to wear as is.
As part of my GelliArts Artist challenges, the perfect opportunity arose! Links to YouTube videos are below.
I am using DecoArt acrylic paint with DecoArt Fabric Medium on my Gelli plates. I'm also being a wee bit lazy and mixing the two together directly on my plate. If you prefer, mix the colours you want to use with the fabric medium in mixing trays.
I've put a piece of card inside my t-shirt so that the paint doesn't go through to the other side. Also, for added texture, I haven't ironed my t-shirt. Okay, I'll own up - I do not like ironing! I began using a 7" x 5" Gelli plate adding the main areas and then moved on to 3" x 5" Gelli plate. Extra printing added using diamond Gelli plate.
I did let all the paint layers on the t-shirt dry naturally but this doesn't take very long. Using the same colours & techniques, I printed my embellishments on to felt. Again I let these dry naturally before cutting out.
I cut out all the felt elements and then began playing around with the design. I quickly realised that I needed to try the t-shirt on in-between re-arranging the pattern so that certain embellishments were not too prominent!
When I was happy with the placement, I stuck each piece down with Aleene's Flexible Stretchable fabric glue. It has been designed to work with stretchy materials and keep the elements you add to all stretch with the material. I left everything to dry for a couple hours before removing pins & cardboard.
After testing that everything has stuck down properly, I left the t-shirt for another 24 hours - which the glue instructions do actually say you should do. After that I washed my t-shirt on a 30∘C wash, no fabric conditioner and inside out. Chuffed to bits to say everything came out intact!
The only marked difference was that the colours once dry and washed, were a little lighter than at the beginning. That could also be because I mixed the fabric medium on the gelli plate and not separately in pots etc. Either way, I'm super chuffed.
Next step for me ... to probably add some stitching and maybe an extra embellishment or two (dozen 😄)
YouTube Videos
The full tutorial video can be found by clicking the photo below ...
Now I have another planned project in the making with left over sheet material, chipboard covers, a little padding and some junk journal papers I have found. Watch this space.
Do you have any clothing that needs a revamp? Why not get out your Gelli plates, some paints, stencils too and give it a whirl. If you do, please let me know so I can see how you upcycled yours.
Take care & see you all soon,
xxx
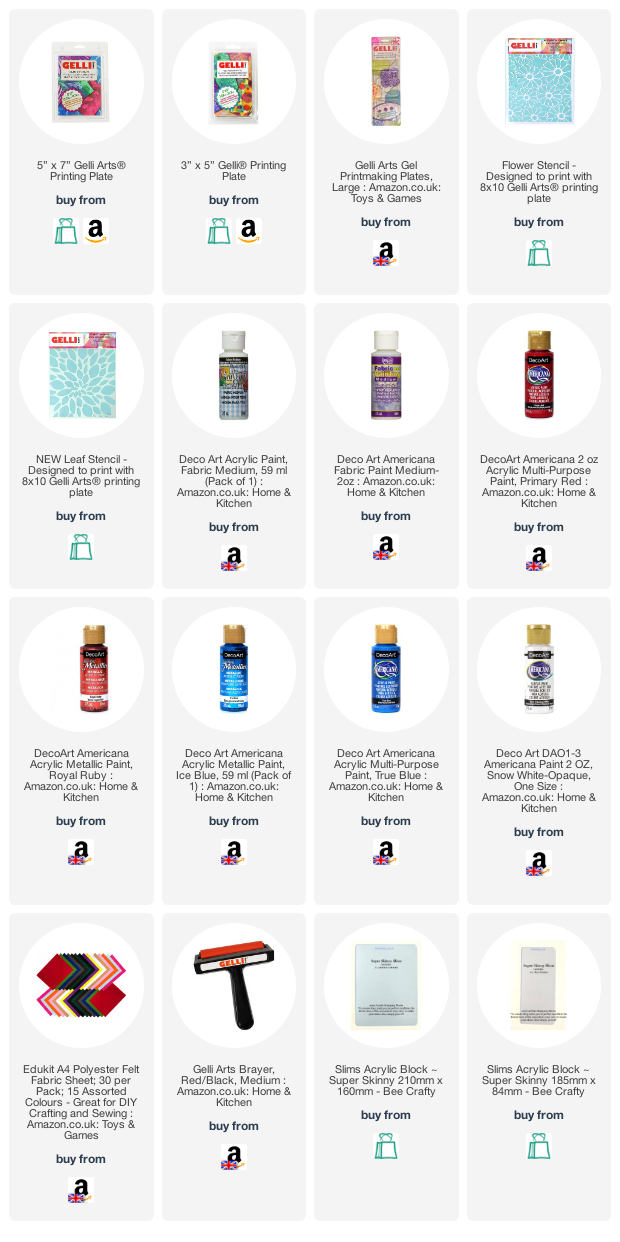
SUPPLIES
If you want to find out about the products I have used, click on the shop link(s)/icon below. Affiliate links are used where I can but at no cost to you & my full Affiliate disclosure can be found here.
Thank you so much for your continued support.

.jpg)
.jpg)
.jpg)
.jpg)


.jpg)
.jpg)
Comments
gr karin