
Shady Designs Floral Frames Collection - card idea #3
I am starting to create a set of step by step blog posts showing different ways to create frame ideas using Shady Designs Floral Frames Collection. Here is another handmade card idea using the Frame it With Flowers stamp set.
.png)
In the post you will find -
- photographs showing step by step
- card idea following step by step
- short video reel showing step by step
- full list of supplies at the bottom of the post
Creating the frame
Cut an A4 piece of card in half to make an A5 card, turn landscape and stamp the main floral image from Shady Designs Frame It With Flowers in the centre.

Stamp the corner design from the same stamp set - Frame It With Flowers - in the bottom left using the bottom petal as your guide.

.png)
Now using a piece of scrap paper or mask, cover part of the flower. Stamp the corner again to create the second part of our frame for this side. I am letting the lower leaves "touch" to give my eye something to look at.


Now to make the frame on the opposite side. Again using a scrap of paper or a mask, cover the lower petal. Line up the corner with the one opposite. This gives the illusion that they are on one line.


- - - - - - - - - - - - - - - 💙 - - - - - - - - - - - - - - -
Saving the images
If you prefer to save each step to your computer, right click on your mouse button and chose the "save image as" and just say where you would like them saved on your PC.
- - - - - - - - - - - - - - - 💙 - - - - - - - - - - - - - - -
Colouring the card
I have coloured my finished floral frame with Ecoline brush pens, colouring the extra parts with a black micron. Colouring these parts with the micron pen, hides where parts of the stamped image have over lapped. I added a few extra "dots" to tie in all the elements. Cut the panel down to fit a 7" x 5" card base.
Now the difficult part ...
which way frame design should I use?
.png)
- - - - - - - - - - - - - - - 💙 - - - - - - - - - - - - - - -
YouTube short video / reel
Click on thumbnail image above but in case it does not work, click HERE
- - - - - - - - - - - - - - - 💙 - - - - - - - - - - - - - - -
So what happened next?
- - - - - - - - - - - - - - - 💙 - - - - - - - - - - - - - - -
Which design would you choose? At the moment, I'm thinking number 3 but off to find a sentiment, so may change my mind again ...!
Thank you ever so much for your company today.
Take care & see you soon,
xxx
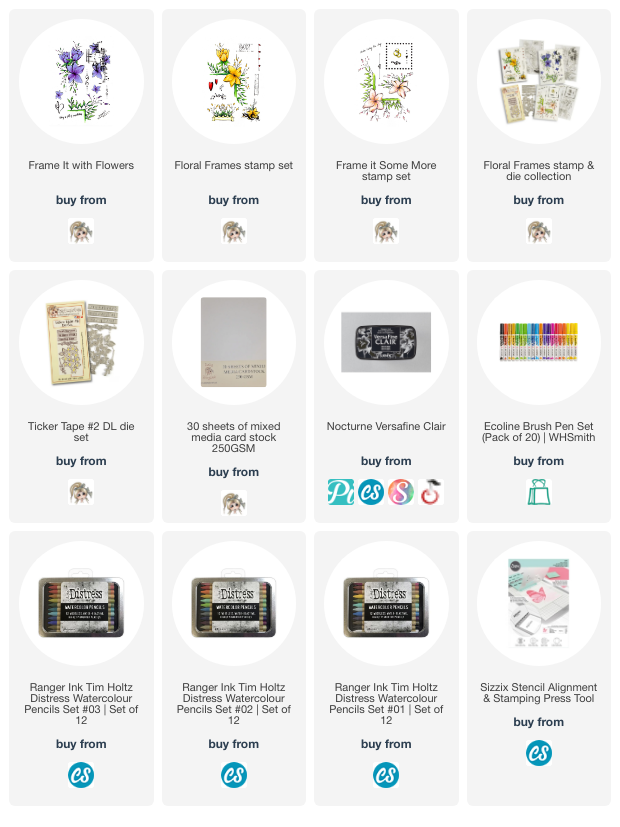
SUPPLIES
If you want to find out about the products I have used, click on the shop link(s)/icon below. Affiliate links are used where I can but at no cost to you & my full affiliate disclosure can be found here.
Thank you so much for your continued support.
Comments
gr karin