Quick card idea: 1 stamp, 2 colours + white
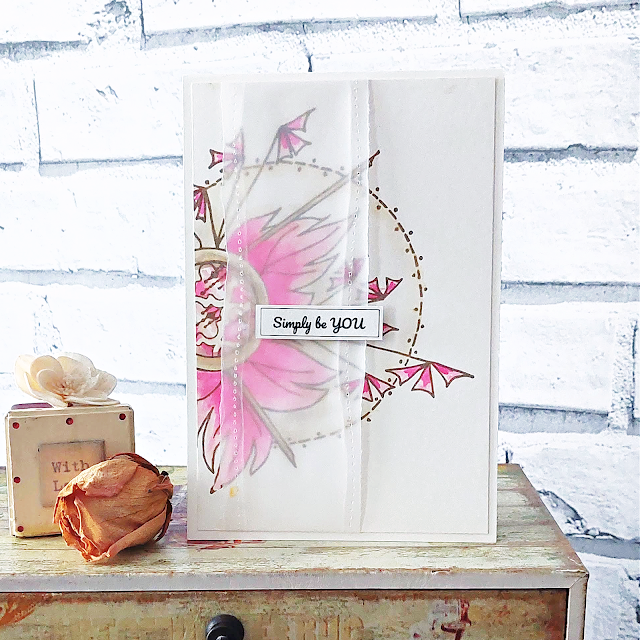
When I designed the original Shady Designs stamp sets, the idea was to create quick backgrounds that appeared as if you had done lots of different stamped layers. Sharing a card today using one stamp & 2 colour inks ...
Full details about how to make the card are below.
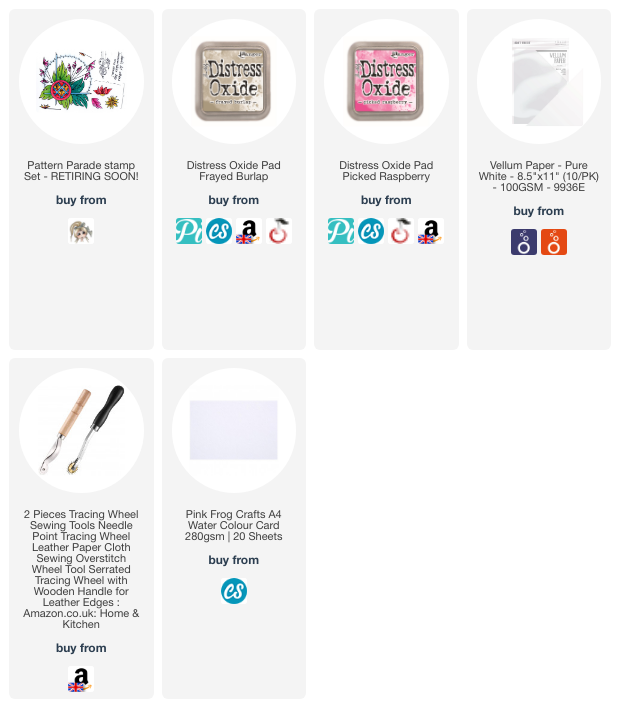
Supply list (clickable thumbnails at bottom of post)
- - - - - - - - - - - - - - - 💙 - - - - - - - - - - - - - -
Simply Be You
Main supplies used -
- Shady Designs Pattern Parade stamp set
- Distress oxide Frayed Burlap
- Distress Oxide Picked Raspberry
- Vellum strip
- White card
1] Stamp the Pattern Parade main stamp image on to a piece of white card measured to fit a 7" x 5" card blank. I have used Frayed Burlap distress oxide. Whilst the ink is wet, blend out some areas with a water brush/paint brush.
2] Add additional colour with Picked Raspberry distress oxide with a water brush/paint brush. I put the colour on the main focal pieces of the stamp.
3] Tear a piece of vellum to fit over your finished panel. I decided to use a piercing tool to add further decoration. Stick to the vellum panel to the back of your stamped & coloured topper. Add the topper to your card blank.
My finished card size is 7" x 5" tent fold. I added a sentiment from one of the Shady Designs sentiment sheets as my finishing touch.
- - - - - - - - - - - - - - - 💙 - - - - - - - - - - - - - -
Other ideas?
This design would work if you
- changed where you stamped the focal image eg: top, bottom, corner etc
- simply embossed the design with gold or silver powder
- changed finished card shape to square
- stamp image on to vellum and heat emboss the design
- same design idea would work with other Shady Design background stamps
- - - - - - - - - - - - - - - 💙 - - - - - - - - - - - - - -
Sometimes we do not always have the time we would like to be able to craft, so quick card ideas definitely help.
Until next time, take care & happy crafting,
Lou
xxx
Main supplies used -


.png)
.png)


Comments