
How to Fix an Art Journal Mistake: Rescuing a Background That Didn’t Work
We’ve all had those moments where a project just isn’t working. In this post, I’m sharing how I rescued a background that really wasn’t going in the right direction and turned it into something I was much happier with.
%20(1).png)
What went wrong ...
%20(3).png)
Needed some positives - any positives at this point and then found this quote in my quote book from way back when I started art journaling...
Art journaling is about exploration and having fun, not perfection.
How I fixed it ...
I remember heating myself saying "layering is my friend" and just went for it. Added a white gel pen outline and highlights, used a coloured micron pen for depth but that still wasn't enough - in my eyes.
.jpg)
What next? Let's see if I can blend out some of the paint layers with some more paint. So that's exactly what I did and slowly, my flower was looking a little better on my eyes. Being honest, I'm still not 100% happy but I'm happier.
%20(4).png)
I'm still thinking "layering is my friend" so I grabbed some stamps and stencils and started adding more layers using a mix of paint & ink. Slowly, I began feeling a bit happier with my page and now love the background but as for the flower ... nah, not feeling it!
%20(1).png)
YouTube video
As a creative, I thought it important that I share this page and what I did next. Normally, we share what we think are great projects but it is important to also show that not everything works for us too! Click on thumbnail image or in case that doesn't work, click HERE instead.
- - - - - 💙 - - - - -
I keep telling myself "no mistakes in art journaling" and agree wholeheartedly, so I am filing this page as "challenge accepted", moving on and congratulating myself that I didn't give up or worse still, tear it out of my journal.
Would love you to leave your tips and techniques about what you do to fix a page or project that just doesn't travel along the same path as you.
Until next time, take care,
xxx
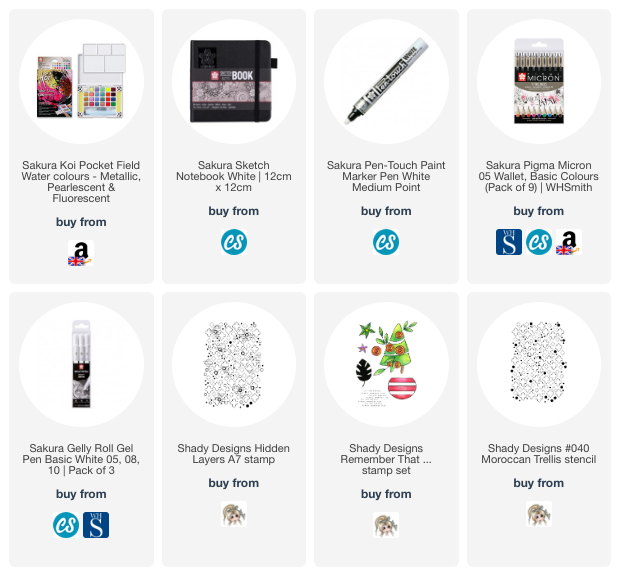
SUPPLIES
If you want to find out about the products I have used, click on the shop link(s)/icon below. Affiliate links are used where I can but at no cost to you & my full affiliate disclosure can be found here.
Thank you so much for your continued support.
Comments
apologies but blogger wouldn't let me comment under your comment!
I use Hero Arts Unicorn White ink pad has it has a great opacity but whilst wet, has the features of a dye based ink.
Hope that helps,
Lou