
Create a Stunning Gelli Printed Journal (Free Template & Video!)
Ever feel that urge to capture your thoughts, dreams, and inspirations in a truly unique way? Today, I'm so excited to share a project that combines the joy of Gelli plate printing with the personal touch of creating your very own art journal. And the best part?
%20(1).png "Create a Stunning Gelli Printed Journal (Free Template & Video!) project & tutorial by Lou Sims")
I'm even giving you a free template to get started! Plus, you can follow along with my step-by-step YouTube video to see the magic unfold.Now this YouTube video, isn't new new, in fact it's 3 years old BUT I was asked to "bump it" so that people new to gel printing with oxide inks and paints could see how it all came together.
- - - - - 💙 - - - - -
Why a Handmade Art Journal?
In a world of digital everything, there's something incredibly special about holding a handmade journal in your hands. It becomes a tangible reflection of your creativity, a safe space for your thoughts, and a beautiful keepsake. Creating your own art journal allows you to customize every aspect, from the size and paper to the cover design. And that's where the fun of Gelli printing comes in!
 project & tutorial by Lou Sims")
The Magic of Gelli Plate Printing
If you're new to the world of Gelli/gel plate printing, prepare to be amazed! This simple yet versatile technique involves using a soft, gel-like plate to create monoprints with vibrant colours and unique textures. It's incredibly accessible for beginners and offers endless possibilities for experienced artists. The beauty of Gelli/gel printing lies in its spontaneity and the unexpected, often beautiful, results you achieve.
Why Oxide Inks are Perfect for Gelli Printing Journals
For this project, I've chosen to work with Ranger Distress Oxide Inks. These inks are a game-changer for Gelli printing because they react with water, allowing for beautiful blending and layered effects. The unique chalky finish of Oxide inks adds a wonderful depth, making them perfect for creating evocative journal covers and pages.
%20(1).png "Create a Stunning Gelli Printed Journal (Free Template & Video!) project & tutorial by Lou Sims")
- - - - - 💙 - - - - -
Gathering Your Supplies
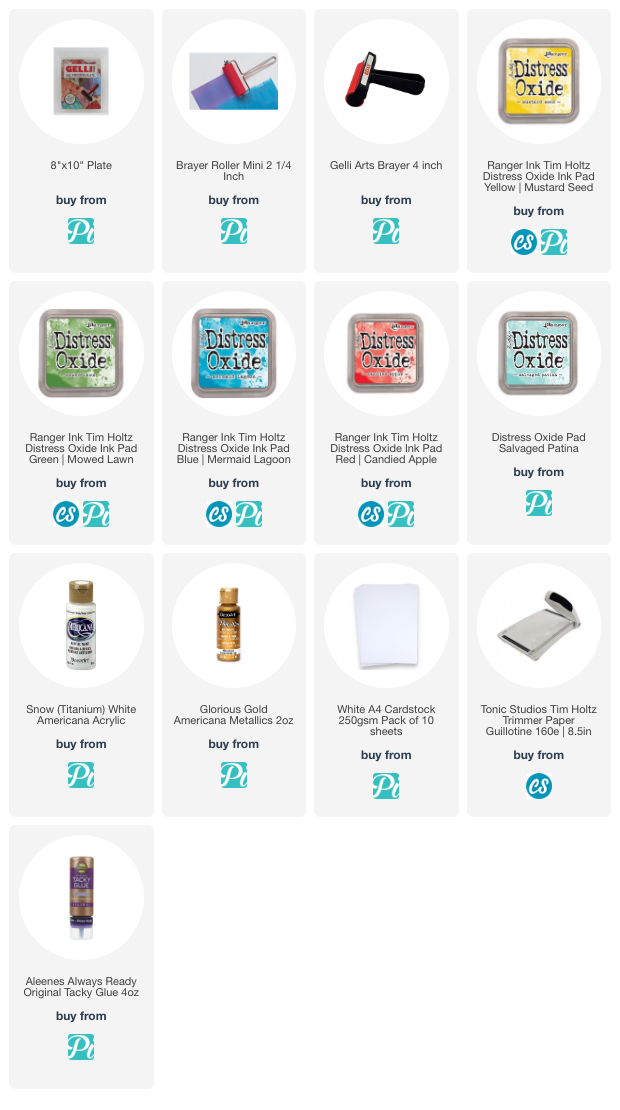
To create your Gelli printed art journal, you'll need a few key supplies:
- Gelli Plate: Choose a size that suits your journal. I am working withan8" x 10" gel plate.
- Ranger Distress Oxide Inks: Select a range of your favourite colours.
- Brayer: For evenly distributing the ink on the Gelli plate.
- Paper: Smooth cardstock or mixed media paper works best for printing.
- Acrylic paints: I've chosen colours to add highlights
- Scissors or Paper Trimmer: For cutting your paper using the template as a guide (see below)
- Optional: Stencils, texture tools, cut & dry foam or blending sponges
Printing Your Journal Covers & pages
This is where the magic begins! In my YouTube video, I walk you through the process of creating stunning backgrounds on your chosen cardstock using the Gelli plate and Oxide inks. We'll explore:
- Applying ink evenly with the brayer.
- Creating blended backgrounds with multiple colours.
- Using stencils and texture tools for added interest.
- Pulling your unique prints!
Assembling Your Art Journal (Free Template!)


There are full step by step instructions in my YouTube video so you can craft along with me.
Adding the Finishing Touches
Once your journal is made, you can personalise it further! As Tim Holtz would say "You do YOU". You could consider adding:
- A title or quote to the cover.
- Ribbons or charms as page markers.
- Small embellishments or ephemera pieces to the pages as you fill them.
 project & tutorial by Lou Sims")
 project & tutorial by Lou Sims")
Comments