Quick Gelli print ideas using oxide inks to create Halloween inspired backgrounds
I'm on a mission or should I say, am challenging myself, that when I create any Gelli printed backgrounds, I try and use them as soon as possible rather than just storing them away for another day. I'm also determined to dust off my older stamp sets too & show them some crafty love.
With this in mind, I thought it would be fun to create some Halloween projects with my printed backgrounds ...
Further how, whys & photos are below plus a link to my YouTube video showing the process from start to finish.
I began by creating a mix of backgrounds using my 7" x 5" Gelli plate with a selection of oxide ink colours that I thought would work with the stamp designs I had in mind. To create different layers, I added torn paper strips to the Gelli plate before beginning & also to see how the prints might look - I suppose something different
I kept repeating the process using different colours adding stencils here & there too. Once I had my backgrounds, I then added stamped images to the gelli plate. This is wonderful as gives a mirror image effect on your backgrounds.
Once I had finished printing, I decided to get out a few bunting shaped dies I have had for over 4/5 years! Did say it was also a project about getting out all our older craft supplies to use with the newer ones. I die cut al the backgrounds up as much as I could. the left over bits, I then stamped on ready to use as embellishments.
After I had finished creating all the elements I thought I needed, next came assembling & making the different pieces of bunting. All in all I made four pieces of bunting but had enough bits remaining, that I could make at least another one ... which I still might do!
A link to all the products I have used to create my bunting, can be found at the bottom of this post.
SPOOKY!
On this piece you can see all the printed layers die cut in to different bunting shapes. I've also stamped on to the mop sheet & the card strips too. A little bit of Ideology trim pieces, new Distress Grit Paste through a Tim Holtz stencil - Crypt - and a sprinkling of the new Distress Glitter, Nightfall. I've used a range of Tim Holtz/Stampers Anonymous stamp sets for the main focal pieces.
PHYSICIAN & SURGEON ...!
On this piece of bunting, I have off set the gelli printed background against a piece of die cut card; also cut in a bunting shape. Again you can see all the wonderful gelli printed backgrounds & how they work as die cut pieces, layered on to my bunting. All the smaller stamped elements were stamped on to the mock up card or strips & then cut out. As they were created at the same time as the background, they work really well together. To tie in with the other piece of bunting, I've also used the same Ideology trims but instead of glitter this time, the new Distress Mica Flakes, Midnight.
BEWARE!
As before in my previous pieces, I have layered the printed die cut background & additional bunting pieces on top of each other to create layers within layers. A few skeletal hands dangle here & there for added effect. To tie each of the bunting pieces together I have kept all my additional embellishments the same: Ideology trims, Distress pastes, glitters & mica flakes. have to say, I love the pop of blue stamped images using salvaged patina on a mop up strip.
TOXIQUE!
This was one of the first backgrounds I created layering ink layers on top of each other using stencils & water. The vibrancy of the orange is a real swoon moment for me. There are minimal die cuts on this piece of bunting but more stamped images most of which have been stamped on to the left over pieces of background or mop up strips. I've used the new Distress Texture Paste, Grave, for added layers sprinkling some of the new Distress Glitter, Nightfall, whilst still wet. Again the pop of blue breaks up the darker colours/tones.
YOUTUBE VIDEO
I have made a video showing the process from start to the very end & it can be found on my YouTube channel.
I've also broken the timings down as follows so you can then skip back & forth to the bits that appeal to you the most -
Making backgrounds - 00:00 to 6:14
First layers to each bunting piece - 6:33 to 12:23
TOXIQUE! bunting piece - 12:34 to 13:54
PHYSIAN & SURGEON bunting piece - 13:55 to 16:34
SPOOKY! bunting piece - 16:35 to 17:29
BEWARE! bunting piece - 17:30 to 19:51
On my channel you will also lots of other gelli plate videos covering a whole range of ideas.
If you are new to my channel, please hit the subscribe button, like the video & leave me a comment - I'd be super chuffed if you did.
WHAT TO DO NEXT?
My original plan was to sew some decorative curtain cord on to the back of each piece so they could be displayed in the window of my craft room. When I did a "dry run", gotta be honest my inner voice was screaming at me "keep them, keep them, keep them" ... so I've decided that they are going to live permanently in my huge Dina Wakley mixed media art journal.
I'm not 100% sure of the layout yet as quite like the idea of have then hanging from either cord or chains or alternative have a diagonal stripe (?) running across both pages, pegging the bunting to that ... decision, decision, decisions. I am however pleased I listened to my inner voice & decided to keep the pieces as they do look rather cool in the journal.
I really hope you enjoyed my Halloween printing ideas & it inspires you to get your Gelli plate and create your own bespoke backgrounds.
If new new to the gelli plate revolution, why not also pop over to the Gelli Arts YouTube channel where there is a whole host of videos from just starting out with your Gelli plate, to more advanced ideas - youtube.com/c/GelliArts
Until next time. Take care & see you all soon,
Lou
xxx
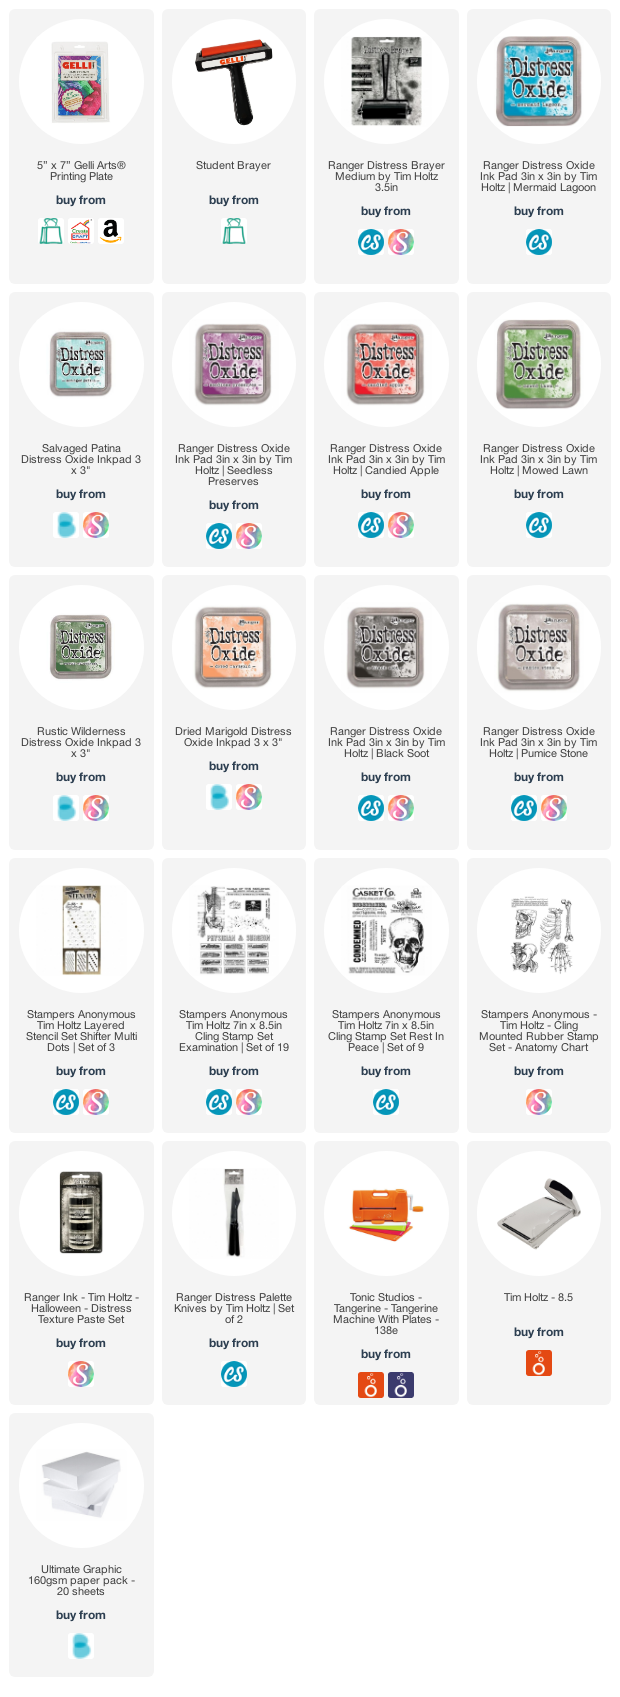
SUPPLIES
If you want to find out about the products I have used, click on the shop link(s)/icon below. Affiliate links are used at no cost to you. Affiliate disclosure can be found here. Thank you so much for your continued support.
Please note that for US supplies I go via Scrapbook.com (as you always get the new releases before us here in the UK lol) hence why shown in list below ...


Comments
Gr Karin