Shady Designs Twinkle Time: A pretty mixed media Christmas card
Get ready to add a touch of magic to your Christmas card crafting with Shady Designs' Twinkle Time stamp set! This blog post will guide you through creating a stunning, pretty, mixed media Christmas card using this versatile set.
You do not always need a huge amount of supplies to make this style of mixed media card as layering or stamping can create the look of many layers.
- - - - - 💙 - - - - -
It's time to twinkle!
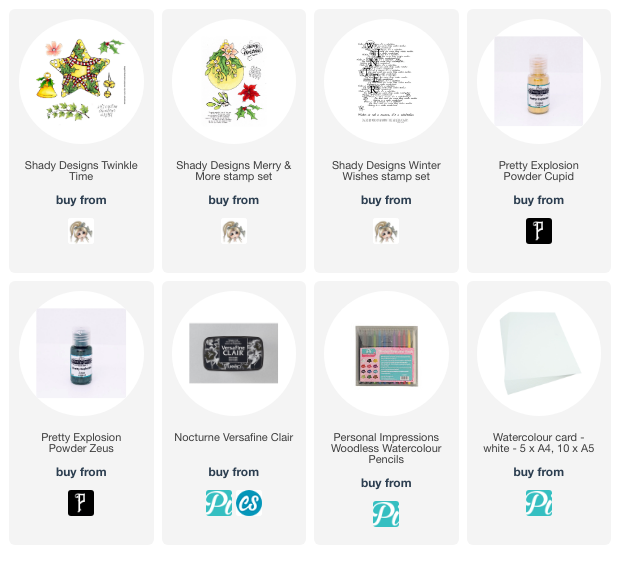
Shady Designs Twinkle Time A6 stamp set is part of the Shady Designs Festive Fusion Collection. There is a lot of detail in the stamp itself which you can colour individual pieces or alternatively, emboss and just fill with one colour.
- - - - - 💙 - - - - -
Building the background:
For the background on both my cards, I wanted to create a fluid, watery effect and have used Pretty Gets Gritty Explosion Powders. The powders also give a beautiful, shimmery effect to the backgrounds which I think works wonderfully with the star as the focal point.
I have experimented with two different colour ways but kept the overall design the same, which I think has changed both the impact & mood.
- - - - - 💙 - - - - -
Card idea #1 - 6" x 6" finished card
Supplies:
Card idea #2 - 5" x 7" finished card
Supplies:
- - - - - 💙 - - - - -
Stamping Magic:
I have stamped both stars in black Versafine Clair Nocturne but I have coloured all the elements of the star in the one colour:
- one with water colour pencils
- the other with gold ink
Using the Shady Designs A7 Winter Wishes background stamp, I stamped the complete image 3 times:
- one with a complimentary ink colour
- one with black ink
Mixed Media Magic:
To create my backgrounds, I have used Pretty Gets Gritty Explosion Powders on a wet water colour card. I let the backgrounds dry naturally.
To create further layers, you could -
- Use a stencil with a complimentary ink or even texture paste/gel medium
- Colour your texture paste/gel medium with the same Explosion Powders used to make the background & use through a stencil
- Stamp the background and emboss with different coloured embossing powders.
Finishing Touches:
Add additional stamped elements
Instead of a stamped greeting, add a personal touch with a handwritten message
Add texture with sari ribbon or lace instead of stamped images
- - - - - 💙 - - - - -
You can follow my crafting journey via all my different social media accounts. Sharing & saving posts or videos is a fantastic way to share all my ideas too.
Instagram (@simslou)
Facebook (Lou Sims)
YouTube (Lou Sims Papercrafter)
Finally, check out my Pinterest page where I also record all the different Shady Designs projects I have created HERE.
Until next time, take care,
Lou
xxx


.png)

.png)
.png)
.png)
Comments