
Tonic Studios Tiny Treasured Tome - mini photo keyring
Tonic Studios recently had a wonderful "One Day Wonder" called "Tiny Treasured Tome" which creates the most beautiful little box and cover. However don't be fooled by the finished projects size as there are so many things you can do with the dies to create larger projects. Check out my mixed media canvas HERE.
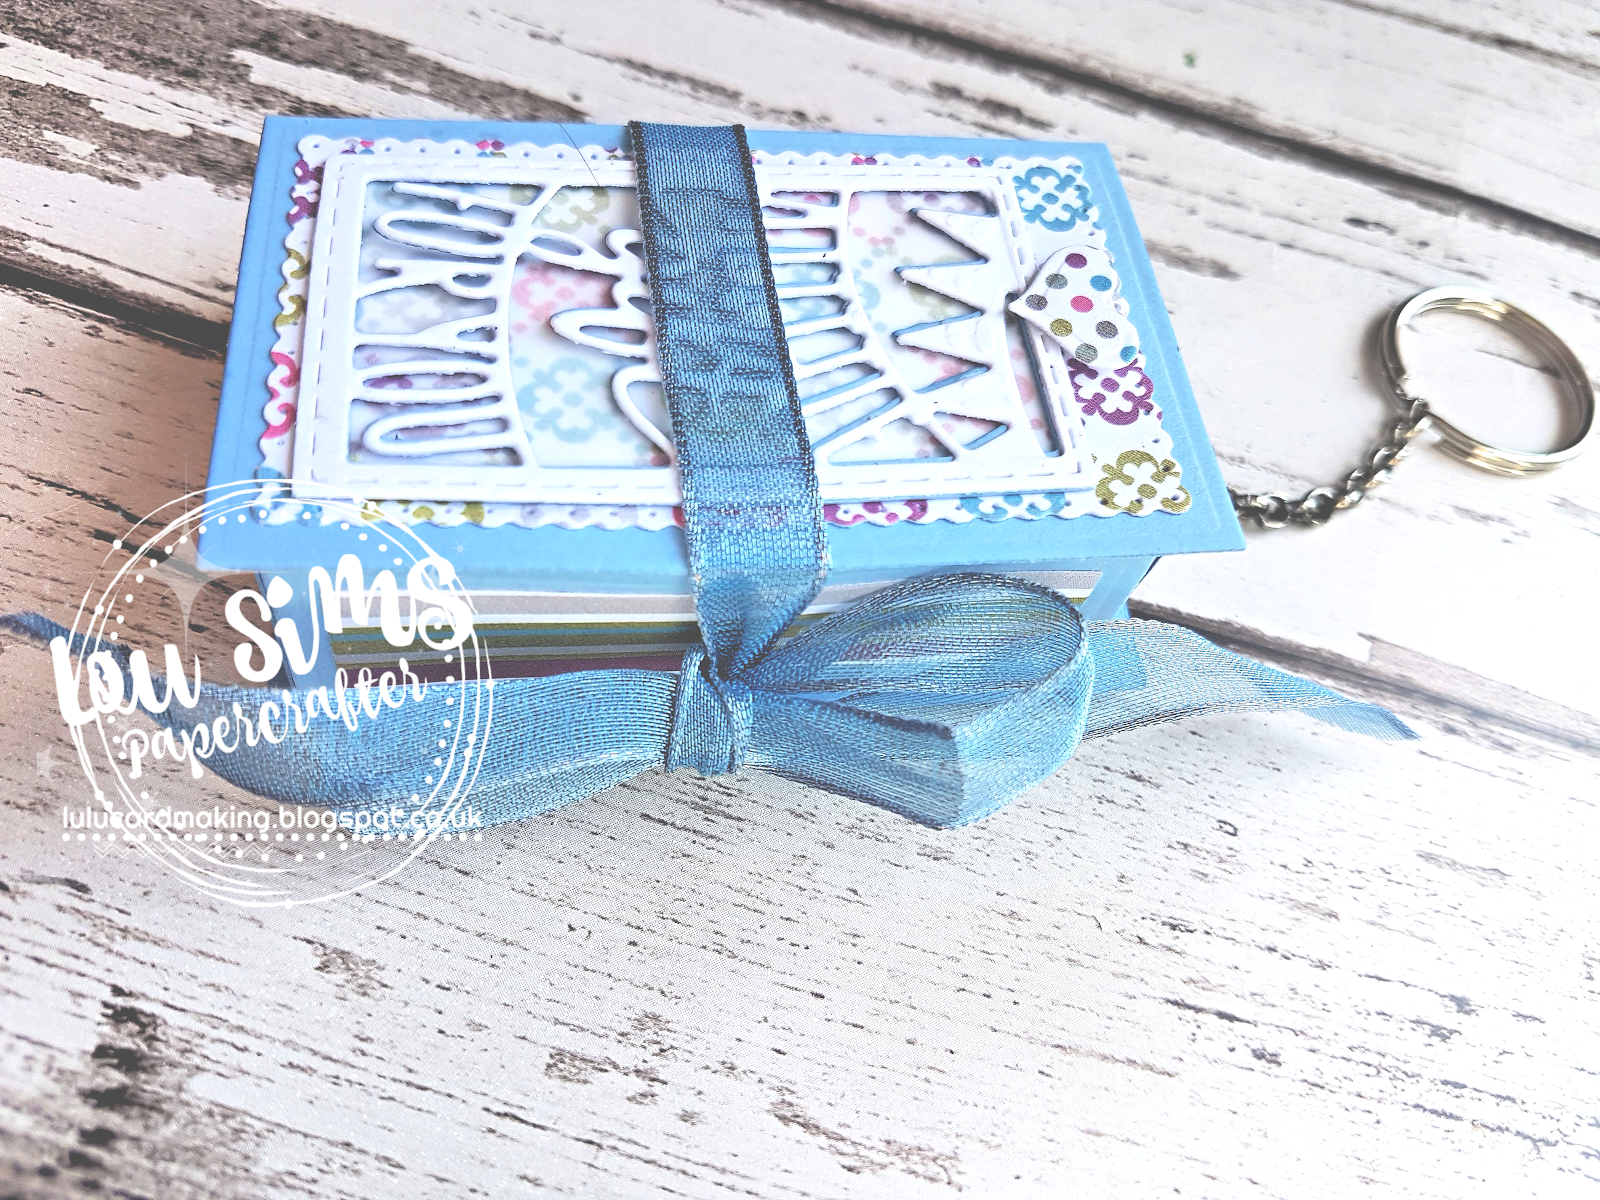
Now for this reveal. I have used the die cut "as is" to create a mini photo brag book thing-a-ma-jig keyring. Oh my that's a description and a half ...

I made the box and cover as per the dies but before adding the box part, I had already added my eyelet and key ring chain as it is definitely easier to do it now rather than later - I found out the hard way ...! I also added my ribbon to the back, securing in place with a decorative paper panel.

For the inside, I measured the inside box to get the maximum size I could - 6cm x 3.7cm. next I cut a strip of card 6cm wide using the complete length of an A4 piece of card. You will be left with an excess but it is easier to cut away any extra, rather than add it on. I then scored this strip @ 3.7cm, 7.4cm, 11.1cm, 14.8cm, 18.5cm & 22.2cm, cutting away the excess. Now fold the strip on the score lines to create a concertina.


Decide which is going to be the bottom part that will eventually be stuck inside your book/tome. Now decorate all the panels using the wonderful detail dies. I have also added wee, little photo panels in white card as this is a carry around brag book. The mounts are in two sizes: 3cm x 3cm and 3cm x 5cm.

Stick your decorated strip inside your box and close, securing with your ribbon. I've used a wire edged ribbon as I find that they last a wee bit longer, secure securely and keep their shape, more so than a grosgrain ribbon. Again, personal preference.

I've decided that I'm going to make a few of these to hang from the Christmas tree this year as mini presents. What do you think?
TINY TREASURED TOME PROJECTS
All in all I created 7 projects using this wonderful, versatile die set. You can check out the other six below. Click on the photos to be taken to the blog post featuring that project.


Many thanks for popping over as I love visits to my blog. Before you go, please check out my Halloween blog posts because on each one, I'm having a different giveaway prize.
Until next time,
Lou
x x x
I'd like to enter my key ring in to the following challenges:
Brown Sugar - anything goes
Creative Fingers - anything goes
Cute Card Thursday - anything goes
Now for this reveal. I have used the die cut "as is" to create a mini photo brag book thing-a-ma-jig keyring. Oh my that's a description and a half ...

I made the box and cover as per the dies but before adding the box part, I had already added my eyelet and key ring chain as it is definitely easier to do it now rather than later - I found out the hard way ...! I also added my ribbon to the back, securing in place with a decorative paper panel.
For the inside, I measured the inside box to get the maximum size I could - 6cm x 3.7cm. next I cut a strip of card 6cm wide using the complete length of an A4 piece of card. You will be left with an excess but it is easier to cut away any extra, rather than add it on. I then scored this strip @ 3.7cm, 7.4cm, 11.1cm, 14.8cm, 18.5cm & 22.2cm, cutting away the excess. Now fold the strip on the score lines to create a concertina.


Decide which is going to be the bottom part that will eventually be stuck inside your book/tome. Now decorate all the panels using the wonderful detail dies. I have also added wee, little photo panels in white card as this is a carry around brag book. The mounts are in two sizes: 3cm x 3cm and 3cm x 5cm.

Stick your decorated strip inside your box and close, securing with your ribbon. I've used a wire edged ribbon as I find that they last a wee bit longer, secure securely and keep their shape, more so than a grosgrain ribbon. Again, personal preference.

To make life a little easier, I have written all the measurements etc below:
Measurements
1] Strip of blue card - 6cm wide from length of A4 card
2] Inside tome box measures 6cm x 3.7cm,
Score this strip @ 3.7cm, 7.4cm, 11.1cm, 14.8cm, 18.5cm, 22.2cm
Score this strip @ 3.7cm, 7.4cm, 11.1cm, 14.8cm, 18.5cm, 22.2cm
3] Photo mats: 1] 3cm x 5cm 2] 3cm x 3cm
I've decided that I'm going to make a few of these to hang from the Christmas tree this year as mini presents. What do you think?
TINY TREASURED TOME PROJECTS
All in all I created 7 projects using this wonderful, versatile die set. You can check out the other six below. Click on the photos to be taken to the blog post featuring that project.

Many thanks for popping over as I love visits to my blog. Before you go, please check out my Halloween blog posts because on each one, I'm having a different giveaway prize.
Until next time,
Lou
x x x
SUPPLIES
I’m listing the products I used below to create my project. Click on the shop link/logo or photo to go directly to the product. Where available I use compensated affiliate links which means if you make a purchase I receive a small commission at no extra cost to you. Thank you so much for your support!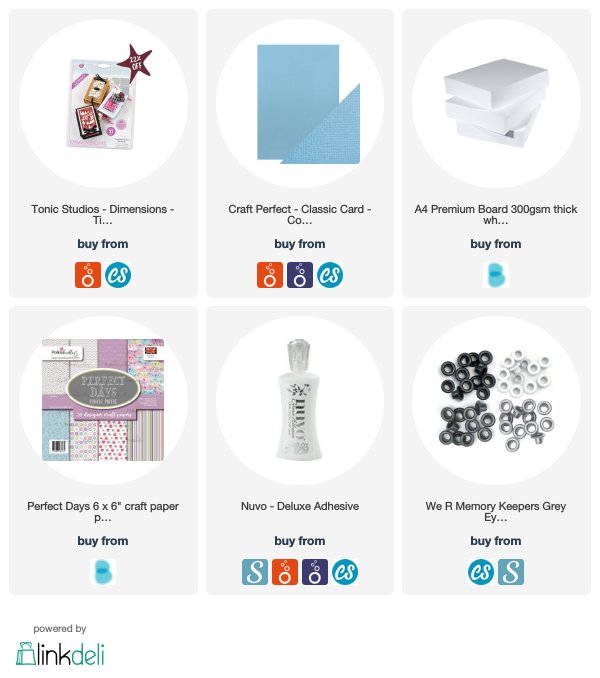
I'd like to enter my key ring in to the following challenges:
Brown Sugar - anything goes
Creative Fingers - anything goes
Cute Card Thursday - anything goes
Comments
Gr Karin